
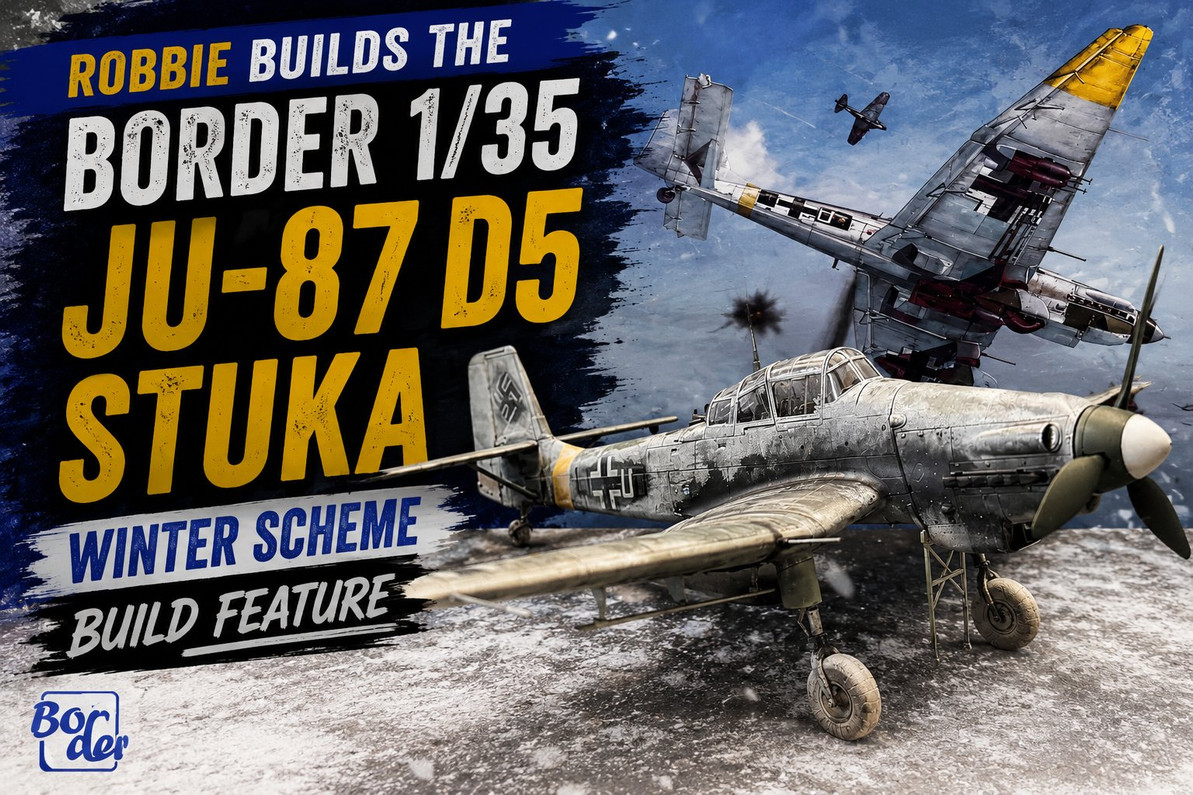
Robbie Builds the Border 1/35 JU-87 D5 Stuka - Winter Scheme Build Feature
Robbie Builds the Border 1/35 Junkers JU-87 D5 Stuka
Border Models BF-012 - 1/35 Aircraft - Full Build Feature
Robbie knew from the start he wanted to do the winter scheme. To keep the process historically accurate, he painted the summer camouflage scheme first - matching the way these aircraft were actually repainted in the field - then applied the white wash over the top.
The heavily streaked winter effect isn't directly referenced in period photographs - winter scheme Stukas were not photographed often. This is Robbie's interpretation of an extreme version: what a heavily used aircraft would look like after months of rain, snow, mud, and operational wear tearing into the hastily-applied winter white.
Robbie's Kit Review - Border Models BF-012
Positives
- Fit well
- Good value
- Detail is 8/10
- Raised rivets make sense where located
- Decals were good
Negatives
- Paint reference is required
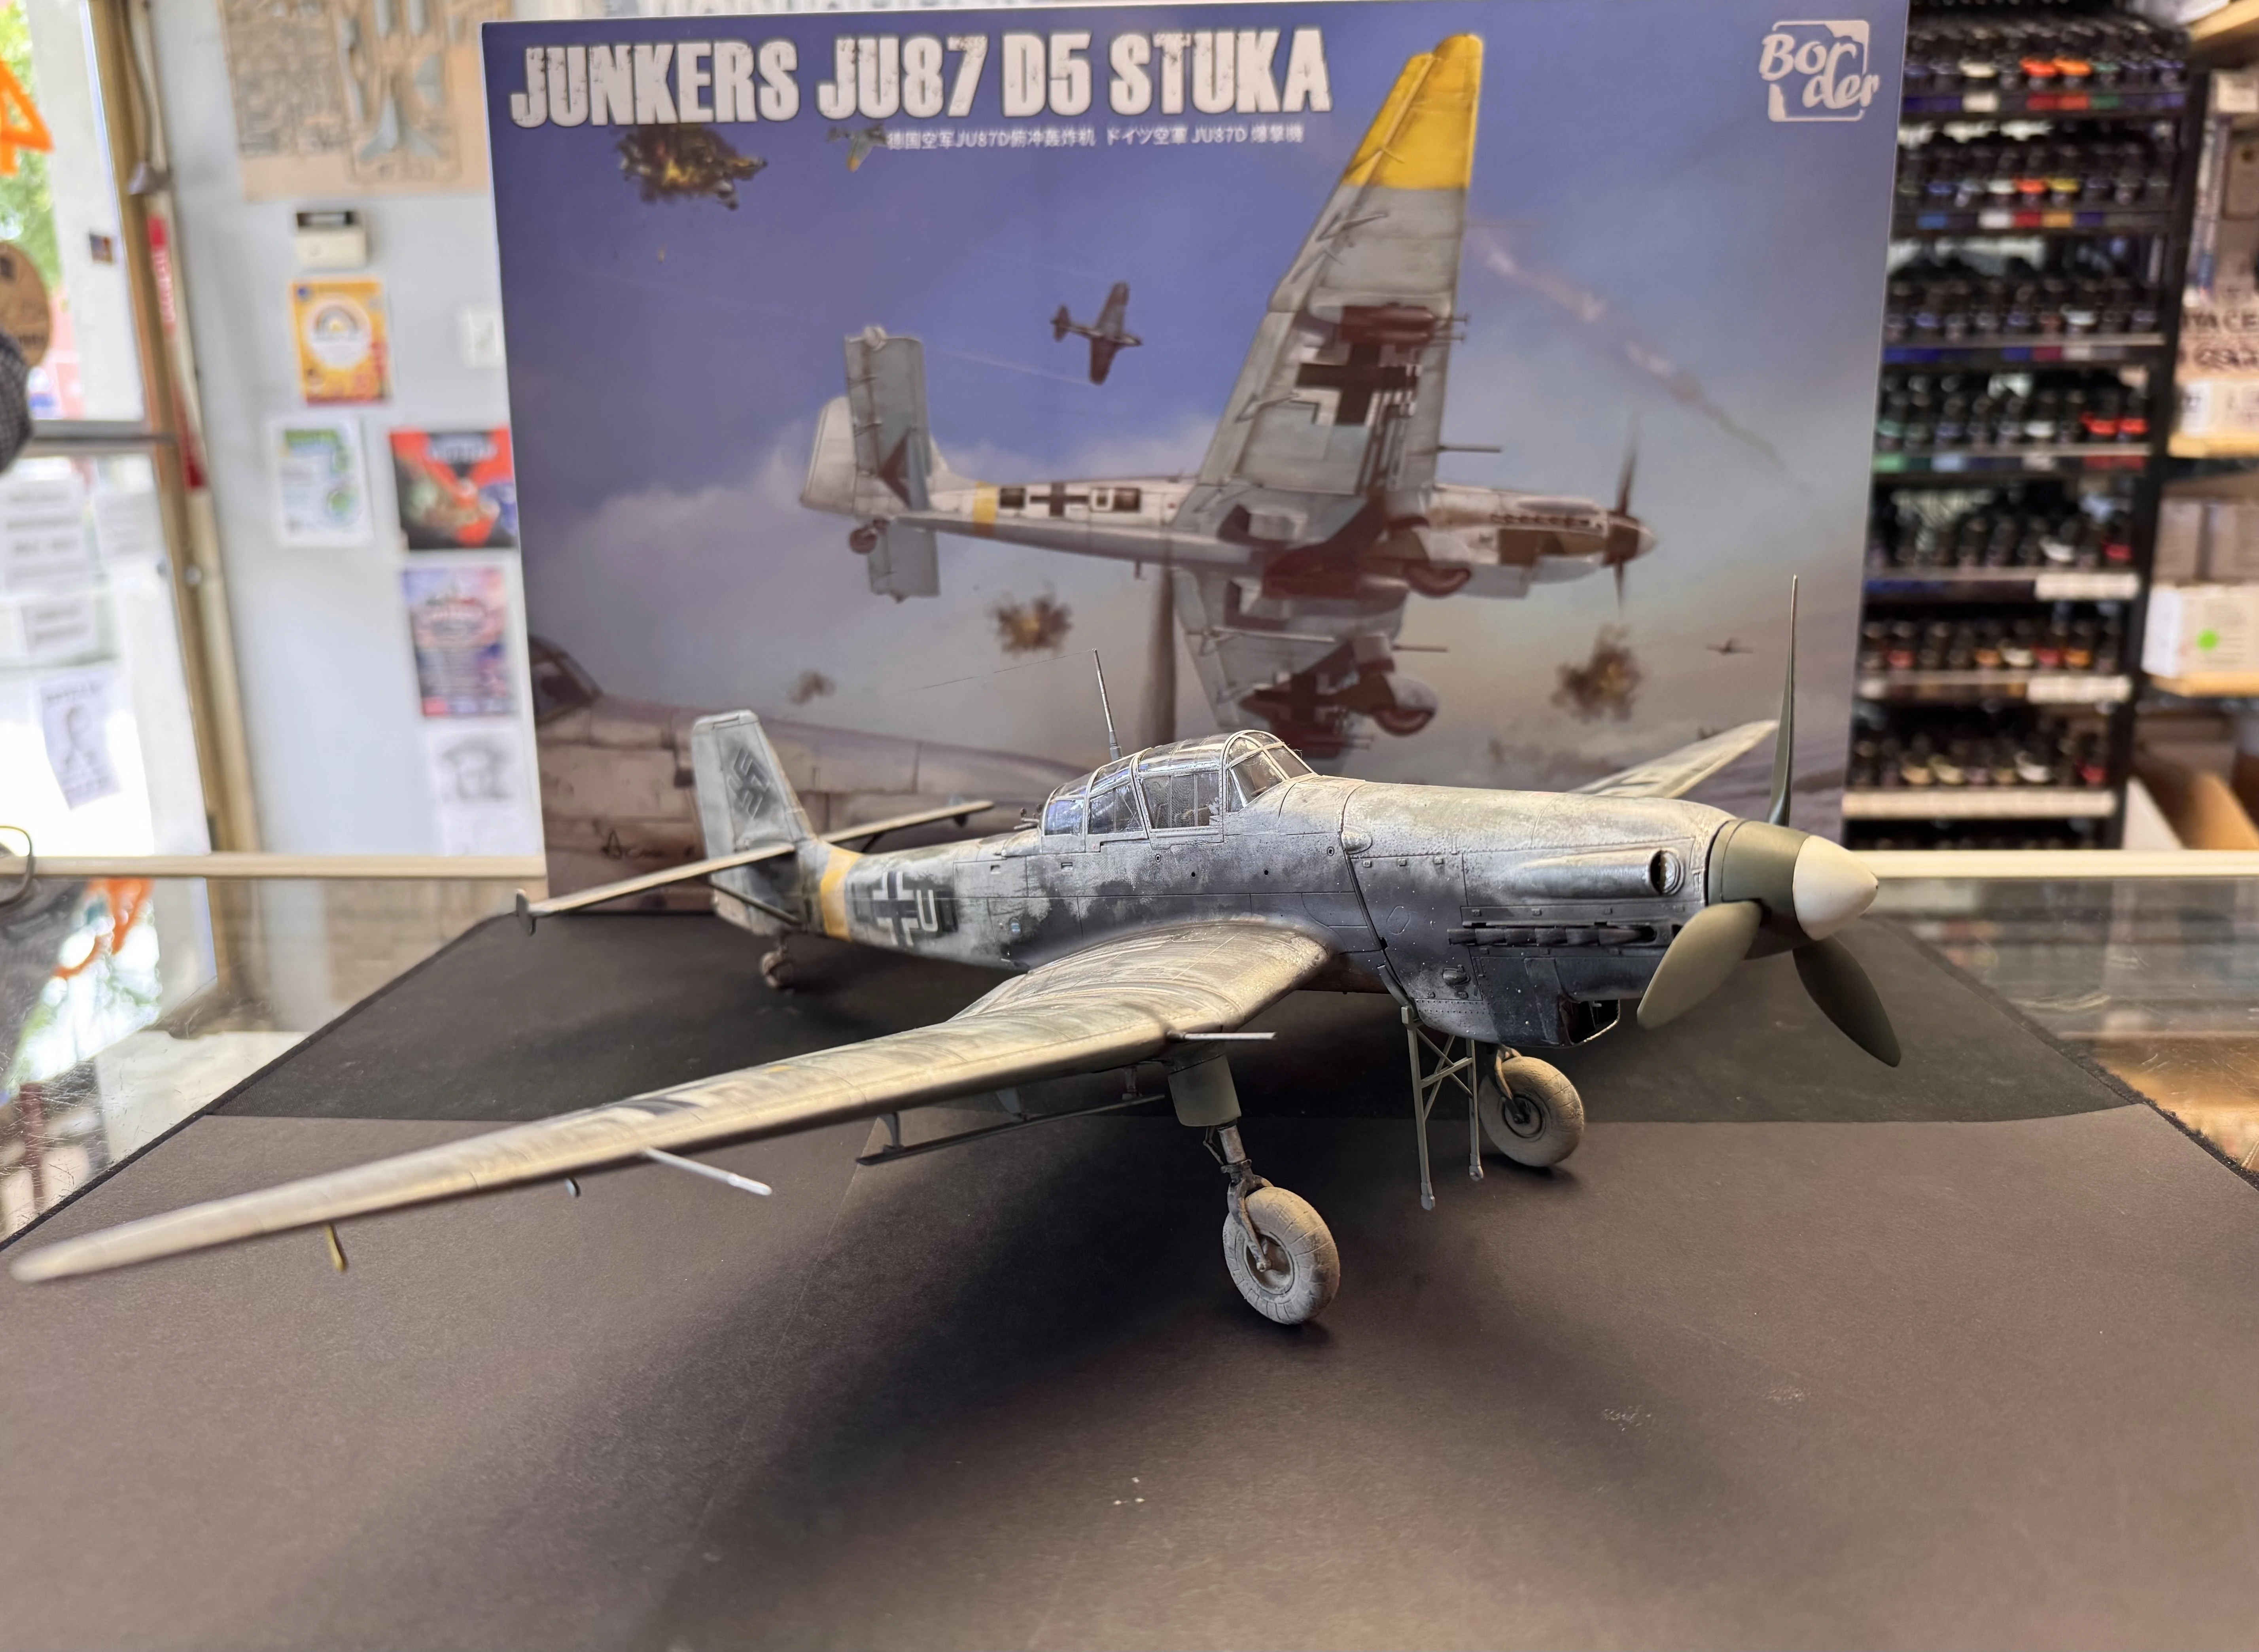
Robbie's Border 1/35 JU-87 D5 Stuka - heavily streaked winter scheme.
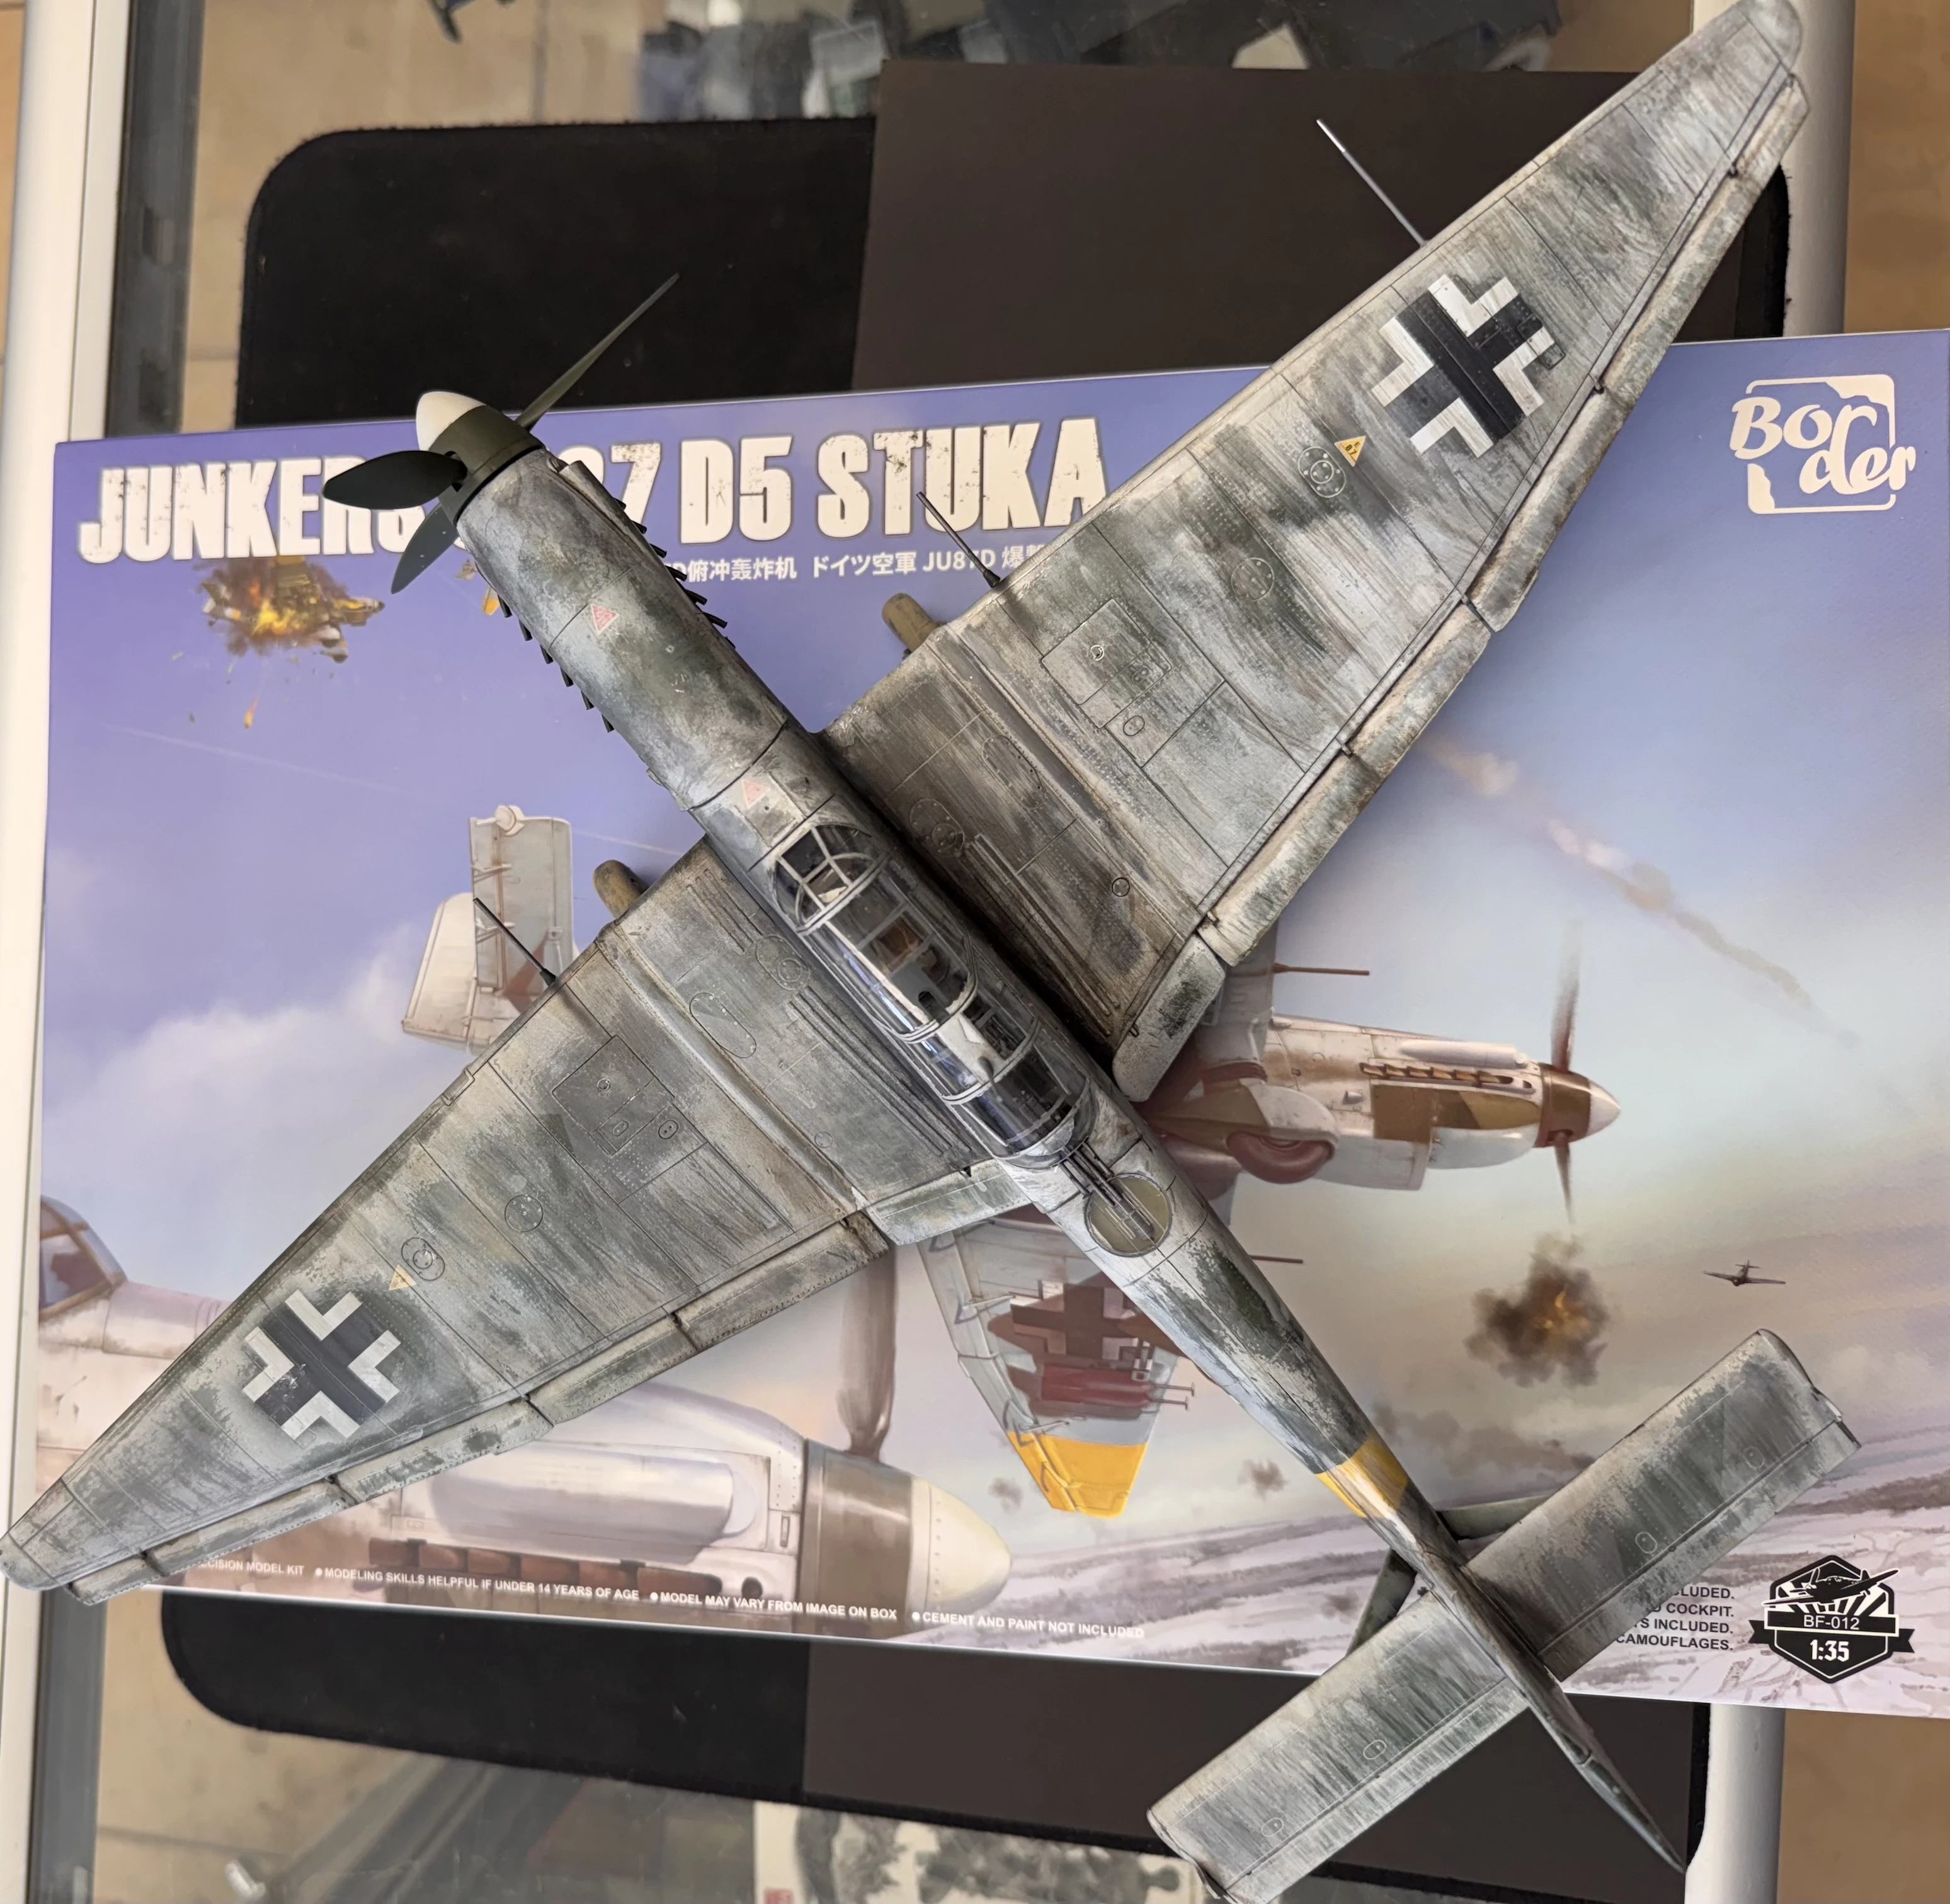
Top down - topside white streaking
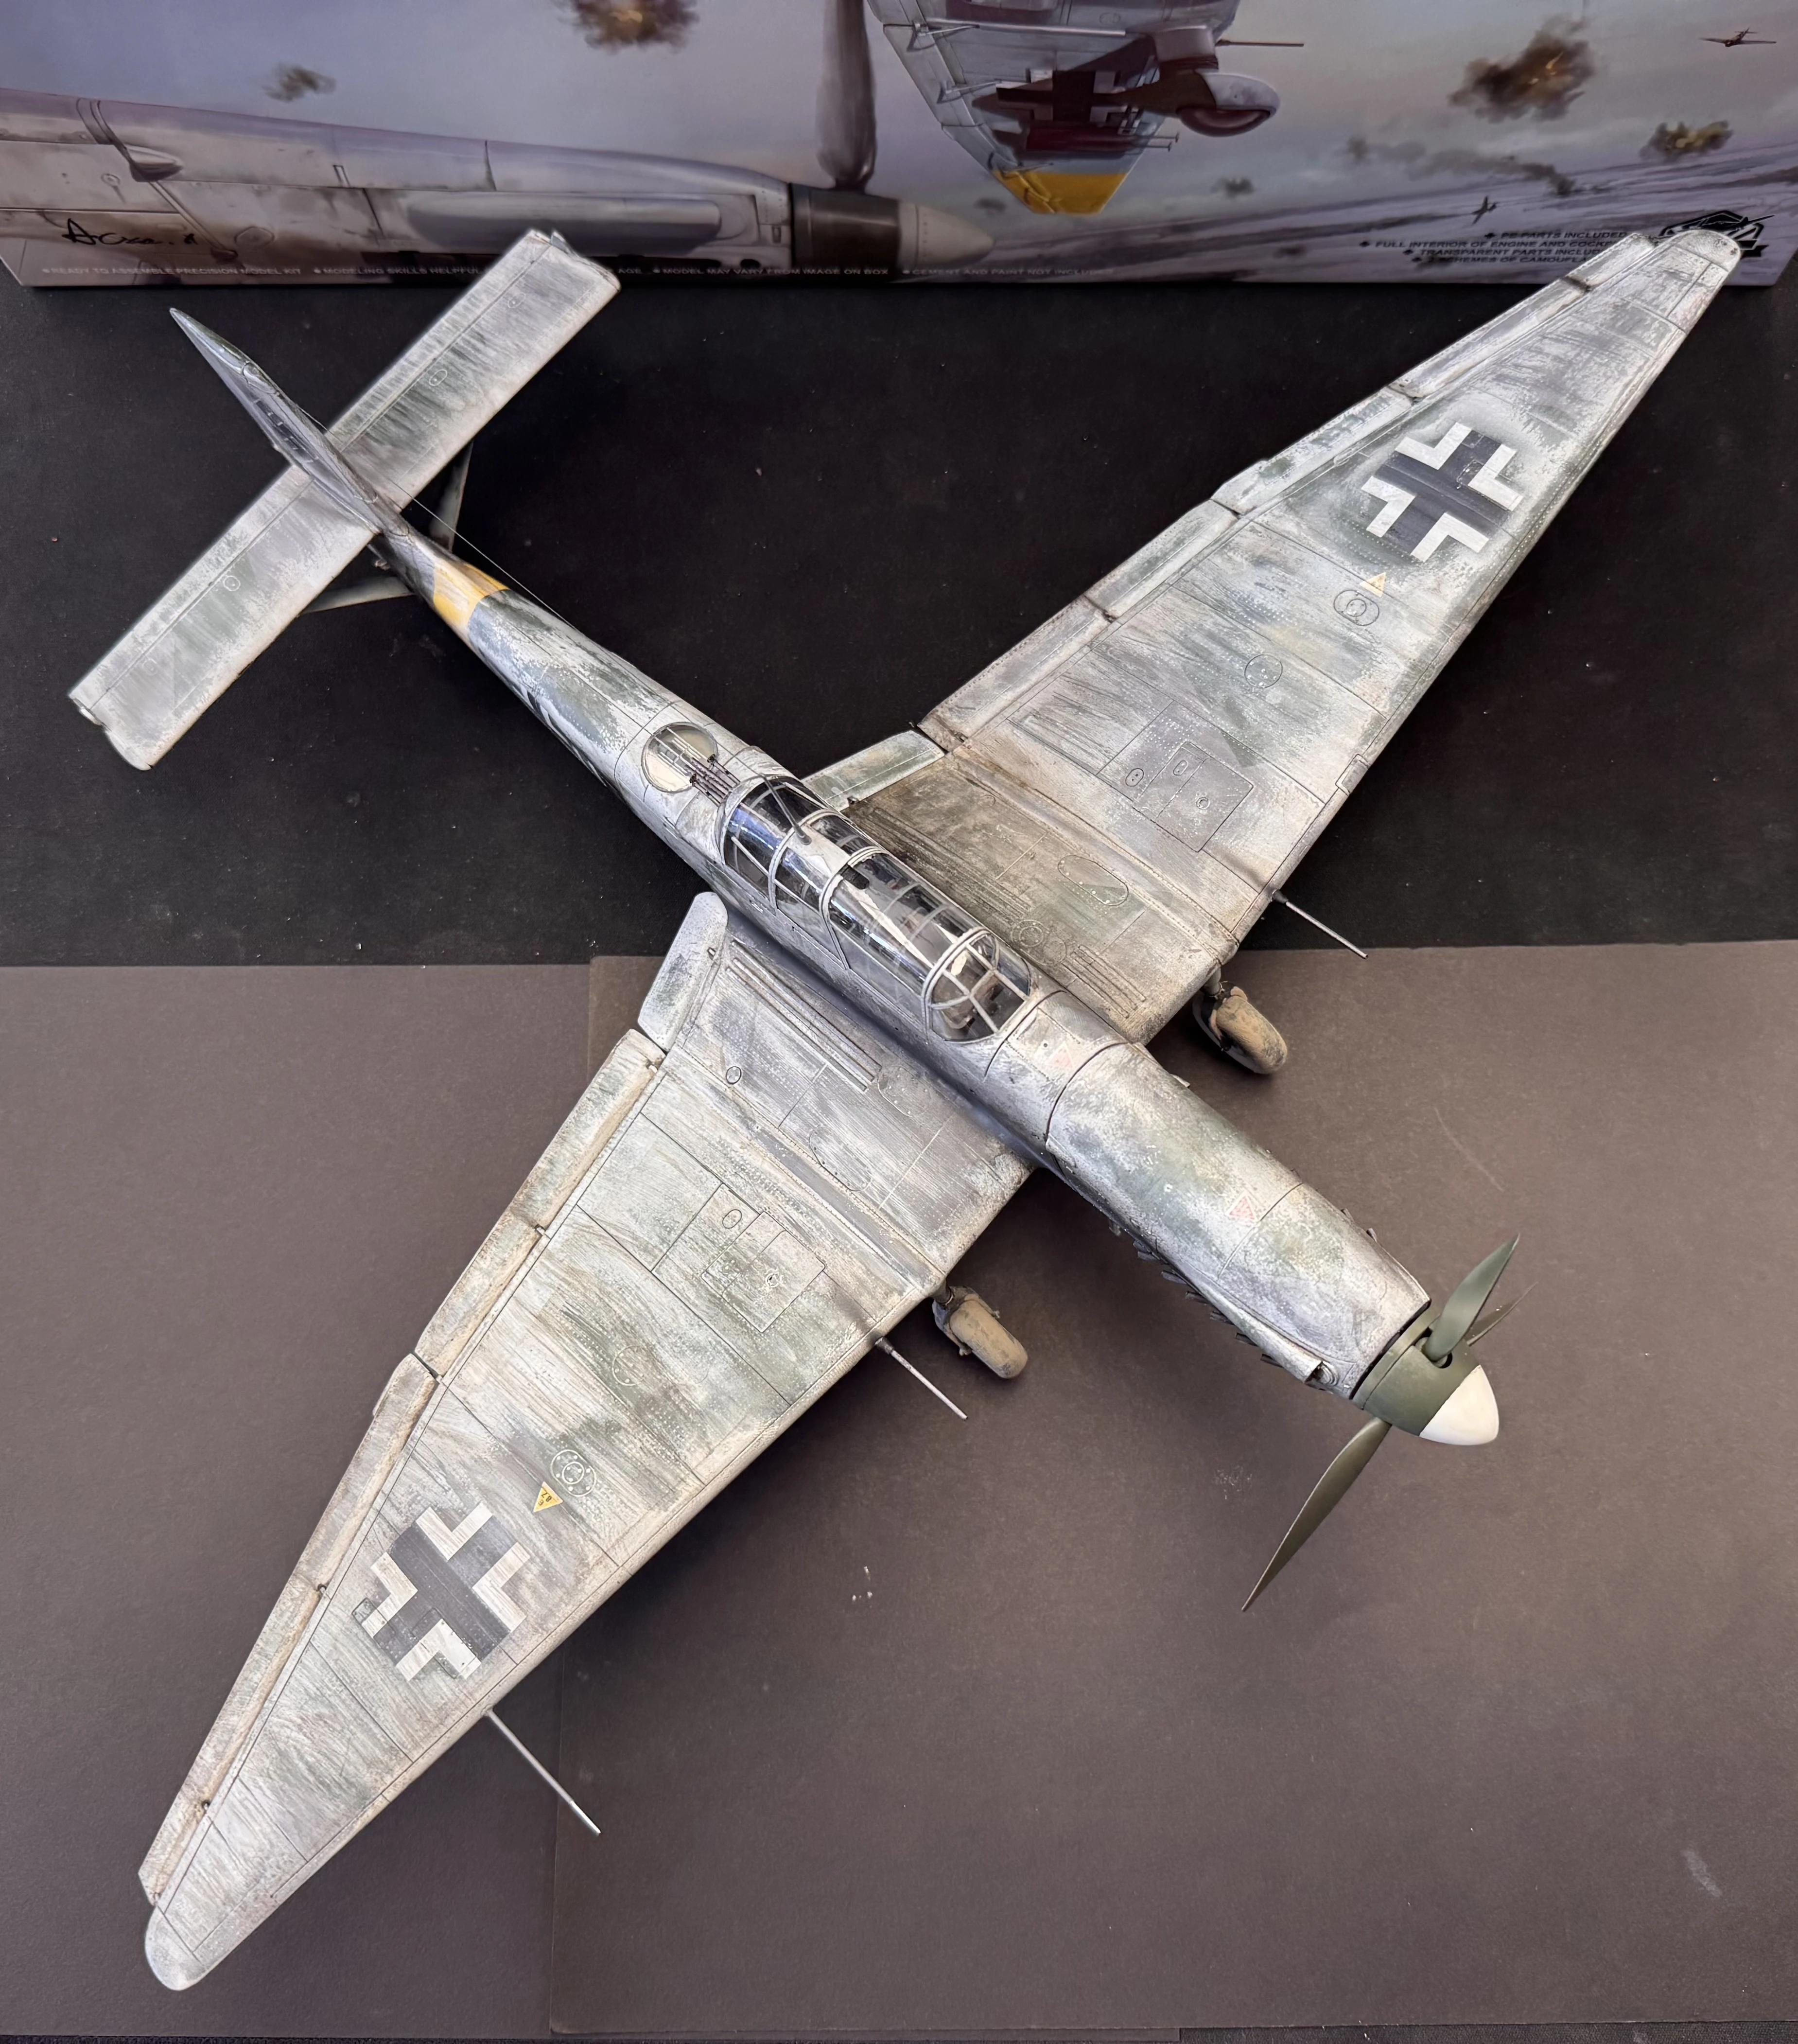
Top down - white streaking on black
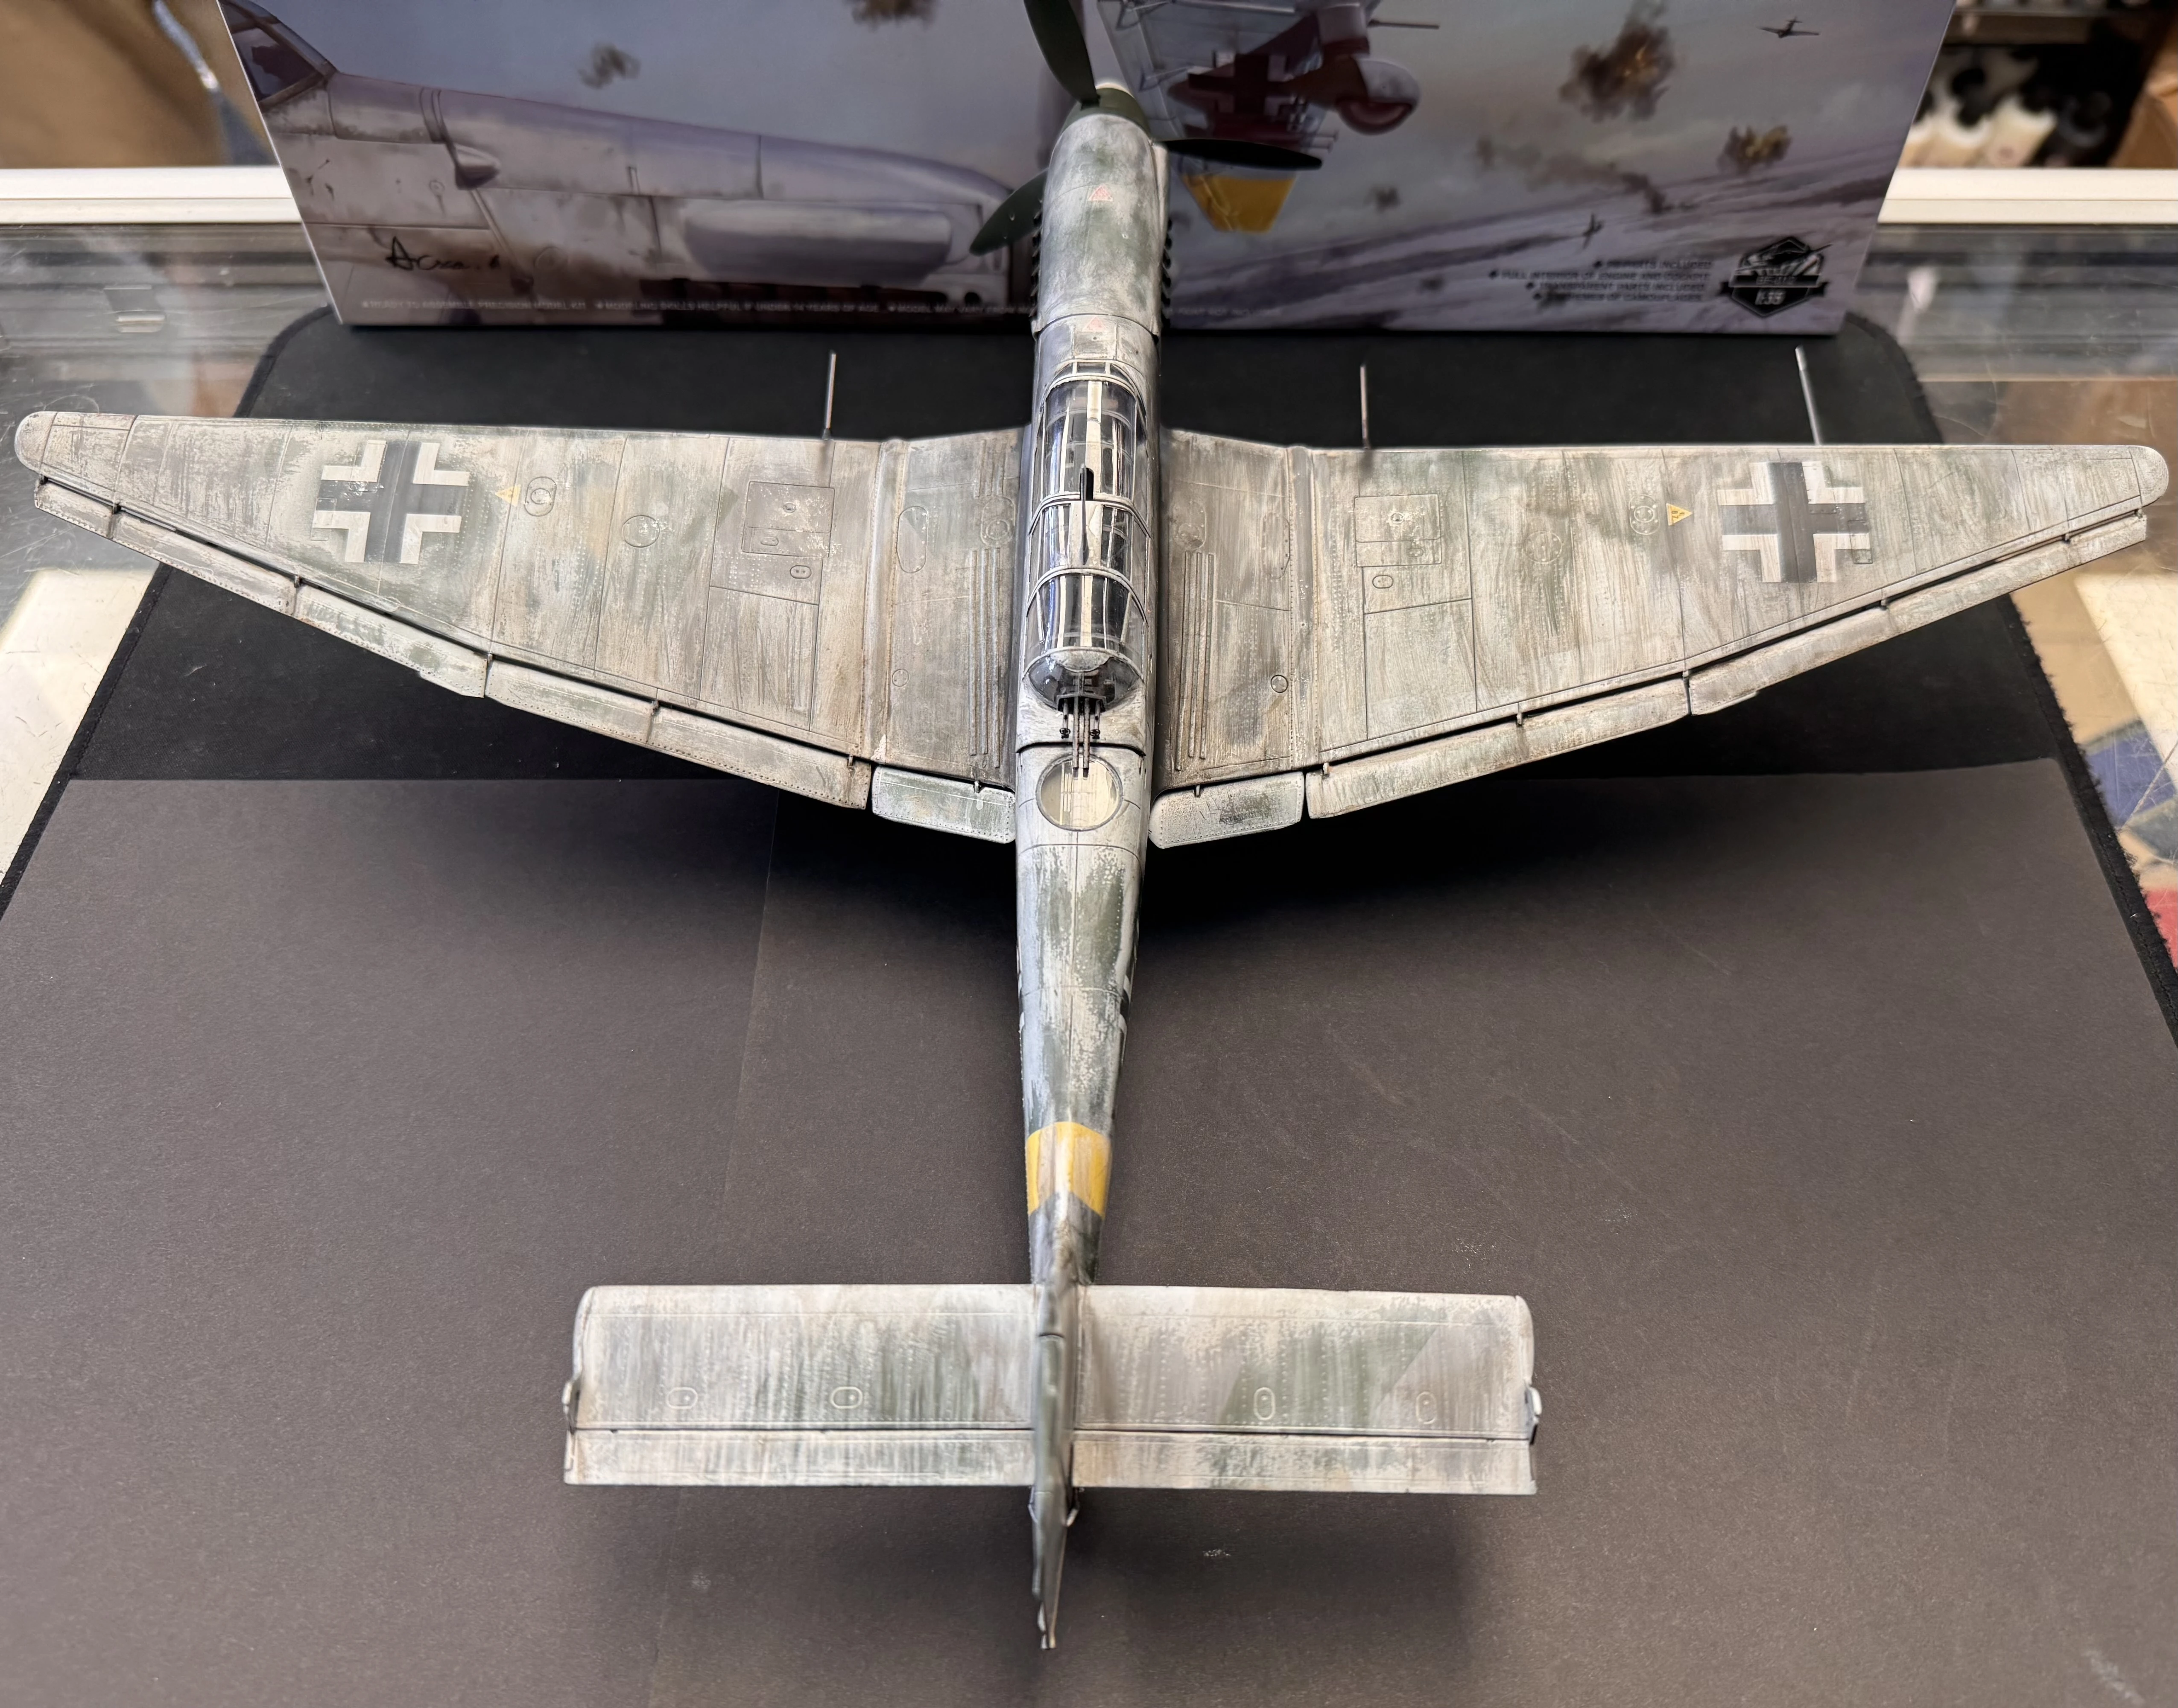
Rear top down
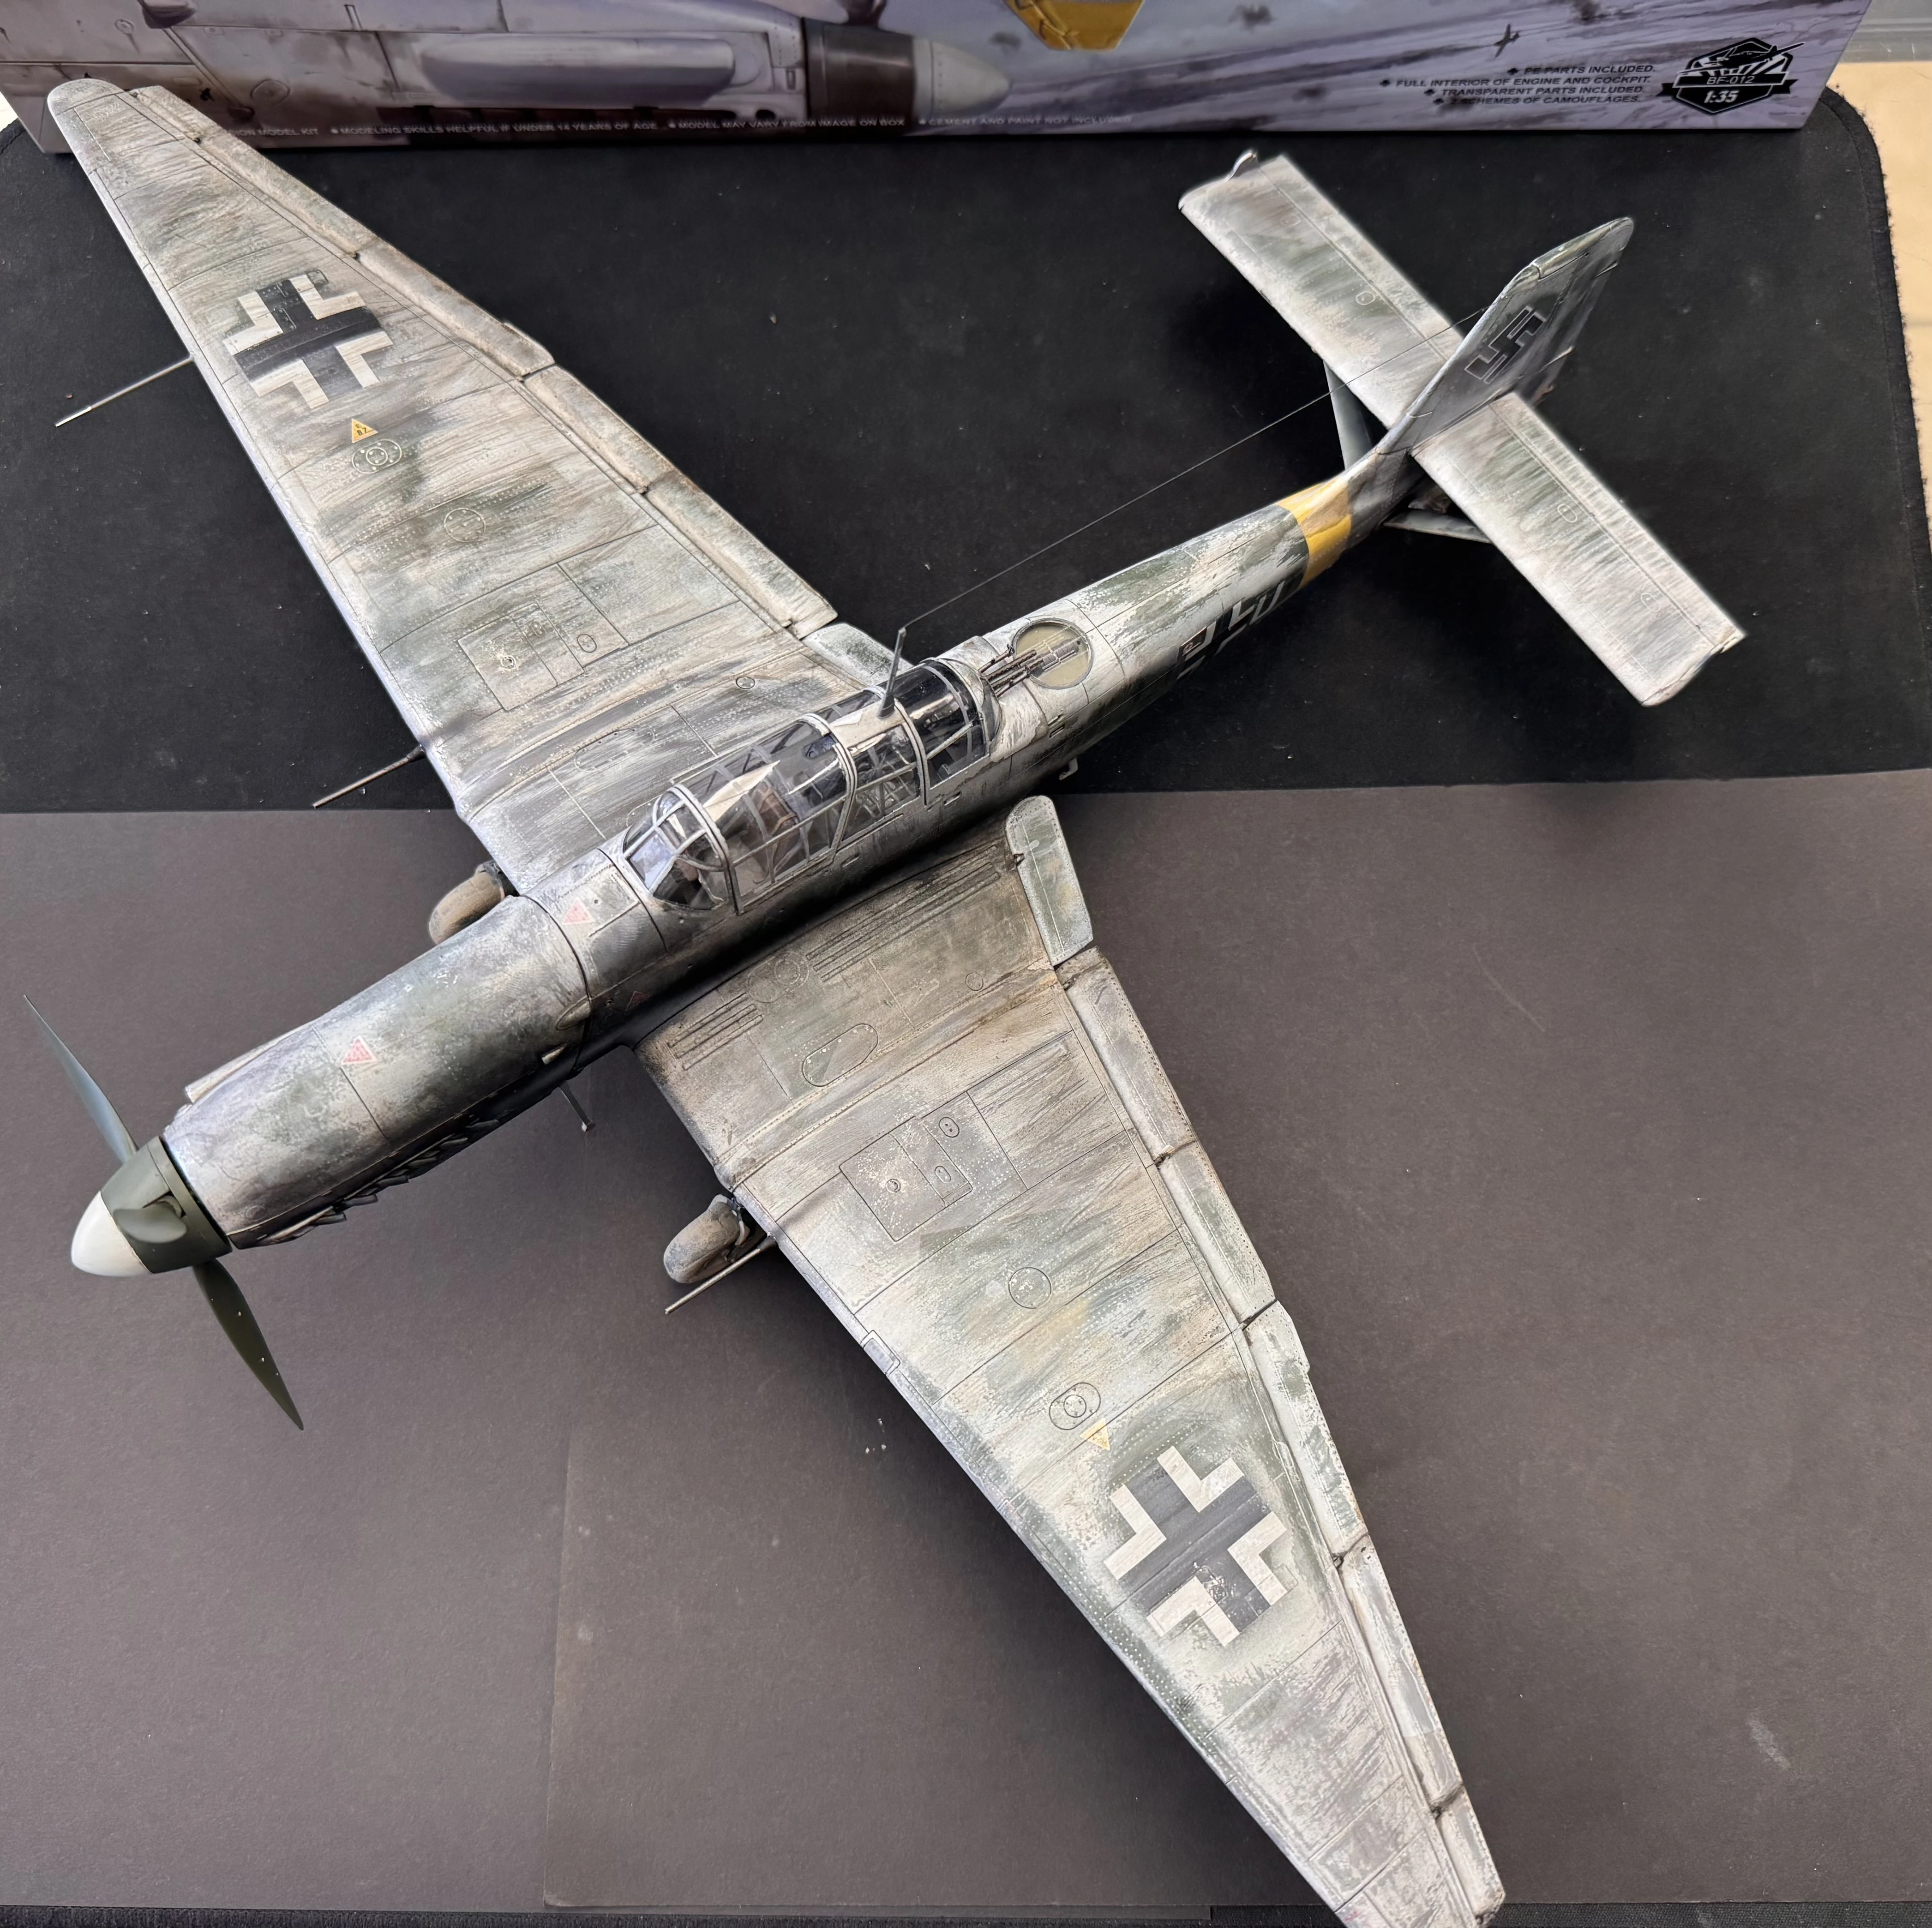
Three-quarter top down left
How Robbie Built It
Full step-by-step breakdown. All products in stock at Wheels and Wings unless noted.
Mr. Hobby Black Surfacer 1500
German Summer Bomber Scheme - Painted First
The summer camouflage scheme is applied first and in full - RLM 65 underside, RLM 02, RLM 70 and RLM 71 upper surfaces. This mirrors the historical process: winter white was applied over the existing summer camouflage in the field. The summer colours need to be there to show through where the white wears away. All four AK Real Colors are lacquers.
Important: AK Real Colors are lacquers. Robbie found that Mr. Mark Setter and Softer will attack the AK Real Color paint surface directly. Always apply a gloss clear coat barrier before using these decal solutions over AK Interactive Real Color paints.
Gloss Coat, Decals, Second Gloss Coat
GX100 Super Clear III Gloss applied over the completed summer scheme before decals. This creates a smooth surface for decal placement and - critically - provides a barrier between the lacquer paint and the Mark Setter and Softer solutions, which Robbie found attack AK Real Colors lacquers directly when applied without this protection. After decals are applied and fully dry, a second coat of GX100 is applied to protect them before the white wash step.
White Wash - Airbrushed, Then Streaked While Tacky
AK Washable White airbrushed over the entire model, avoiding the decals as much as possible. The key step: the white is allowed to dry until just tacky - not fully wet, not fully dry - and then streaked aggressively downward using an old blending brush. The tacky state is what allows the streaking to work - if the paint is too wet it smears, if it is fully dry the streaking technique does not work on this product.
The streaking is applied more aggressively around the wing roots where rain, mud and exhaust would cause the most wear on the field-applied white. After the white wash step, another coat of GX100 gloss is applied to protect the effect before the panel line step.
Heavy white streaking - upper surfaces
Streaking contrast on black background
Panel Lines and Streaking - Custom Enamel Mix
Tamiya enamel Flat Black and Flat Hull Red mixed together and thinned with Tamiya Enamel Thinner to create a custom dark grimey panel line colour. Applied as a standard panel wash across the model. The same mix is then used selectively for additional streaking effects on individual panels, wing flaps and around the guns - applied and then drawn down with Tamiya Enamel Thinner on a brush.
Wing Root Lead Staining - Black Then White Overspray
Flat Black enamel airbrushed onto the wing roots, then Flat White enamel softly airbrushed over the top of the dry black. The white sitting over the black produces the grey-white colour of lead staining from exhaust - the effect of burnt fuel residue building up on the aircraft surface over sustained operational use.
Streaking and Mud Splatter
The same custom enamel panel line mix used for additional streaking on the underside. AK Dry Ground applied heavily to the wheels and selectively to the underside to read as mud kicked up from the wheels - an aircraft operating from a field airstrip in the mud and snow of the Eastern Front would accumulate exactly this kind of undercarriage contamination.
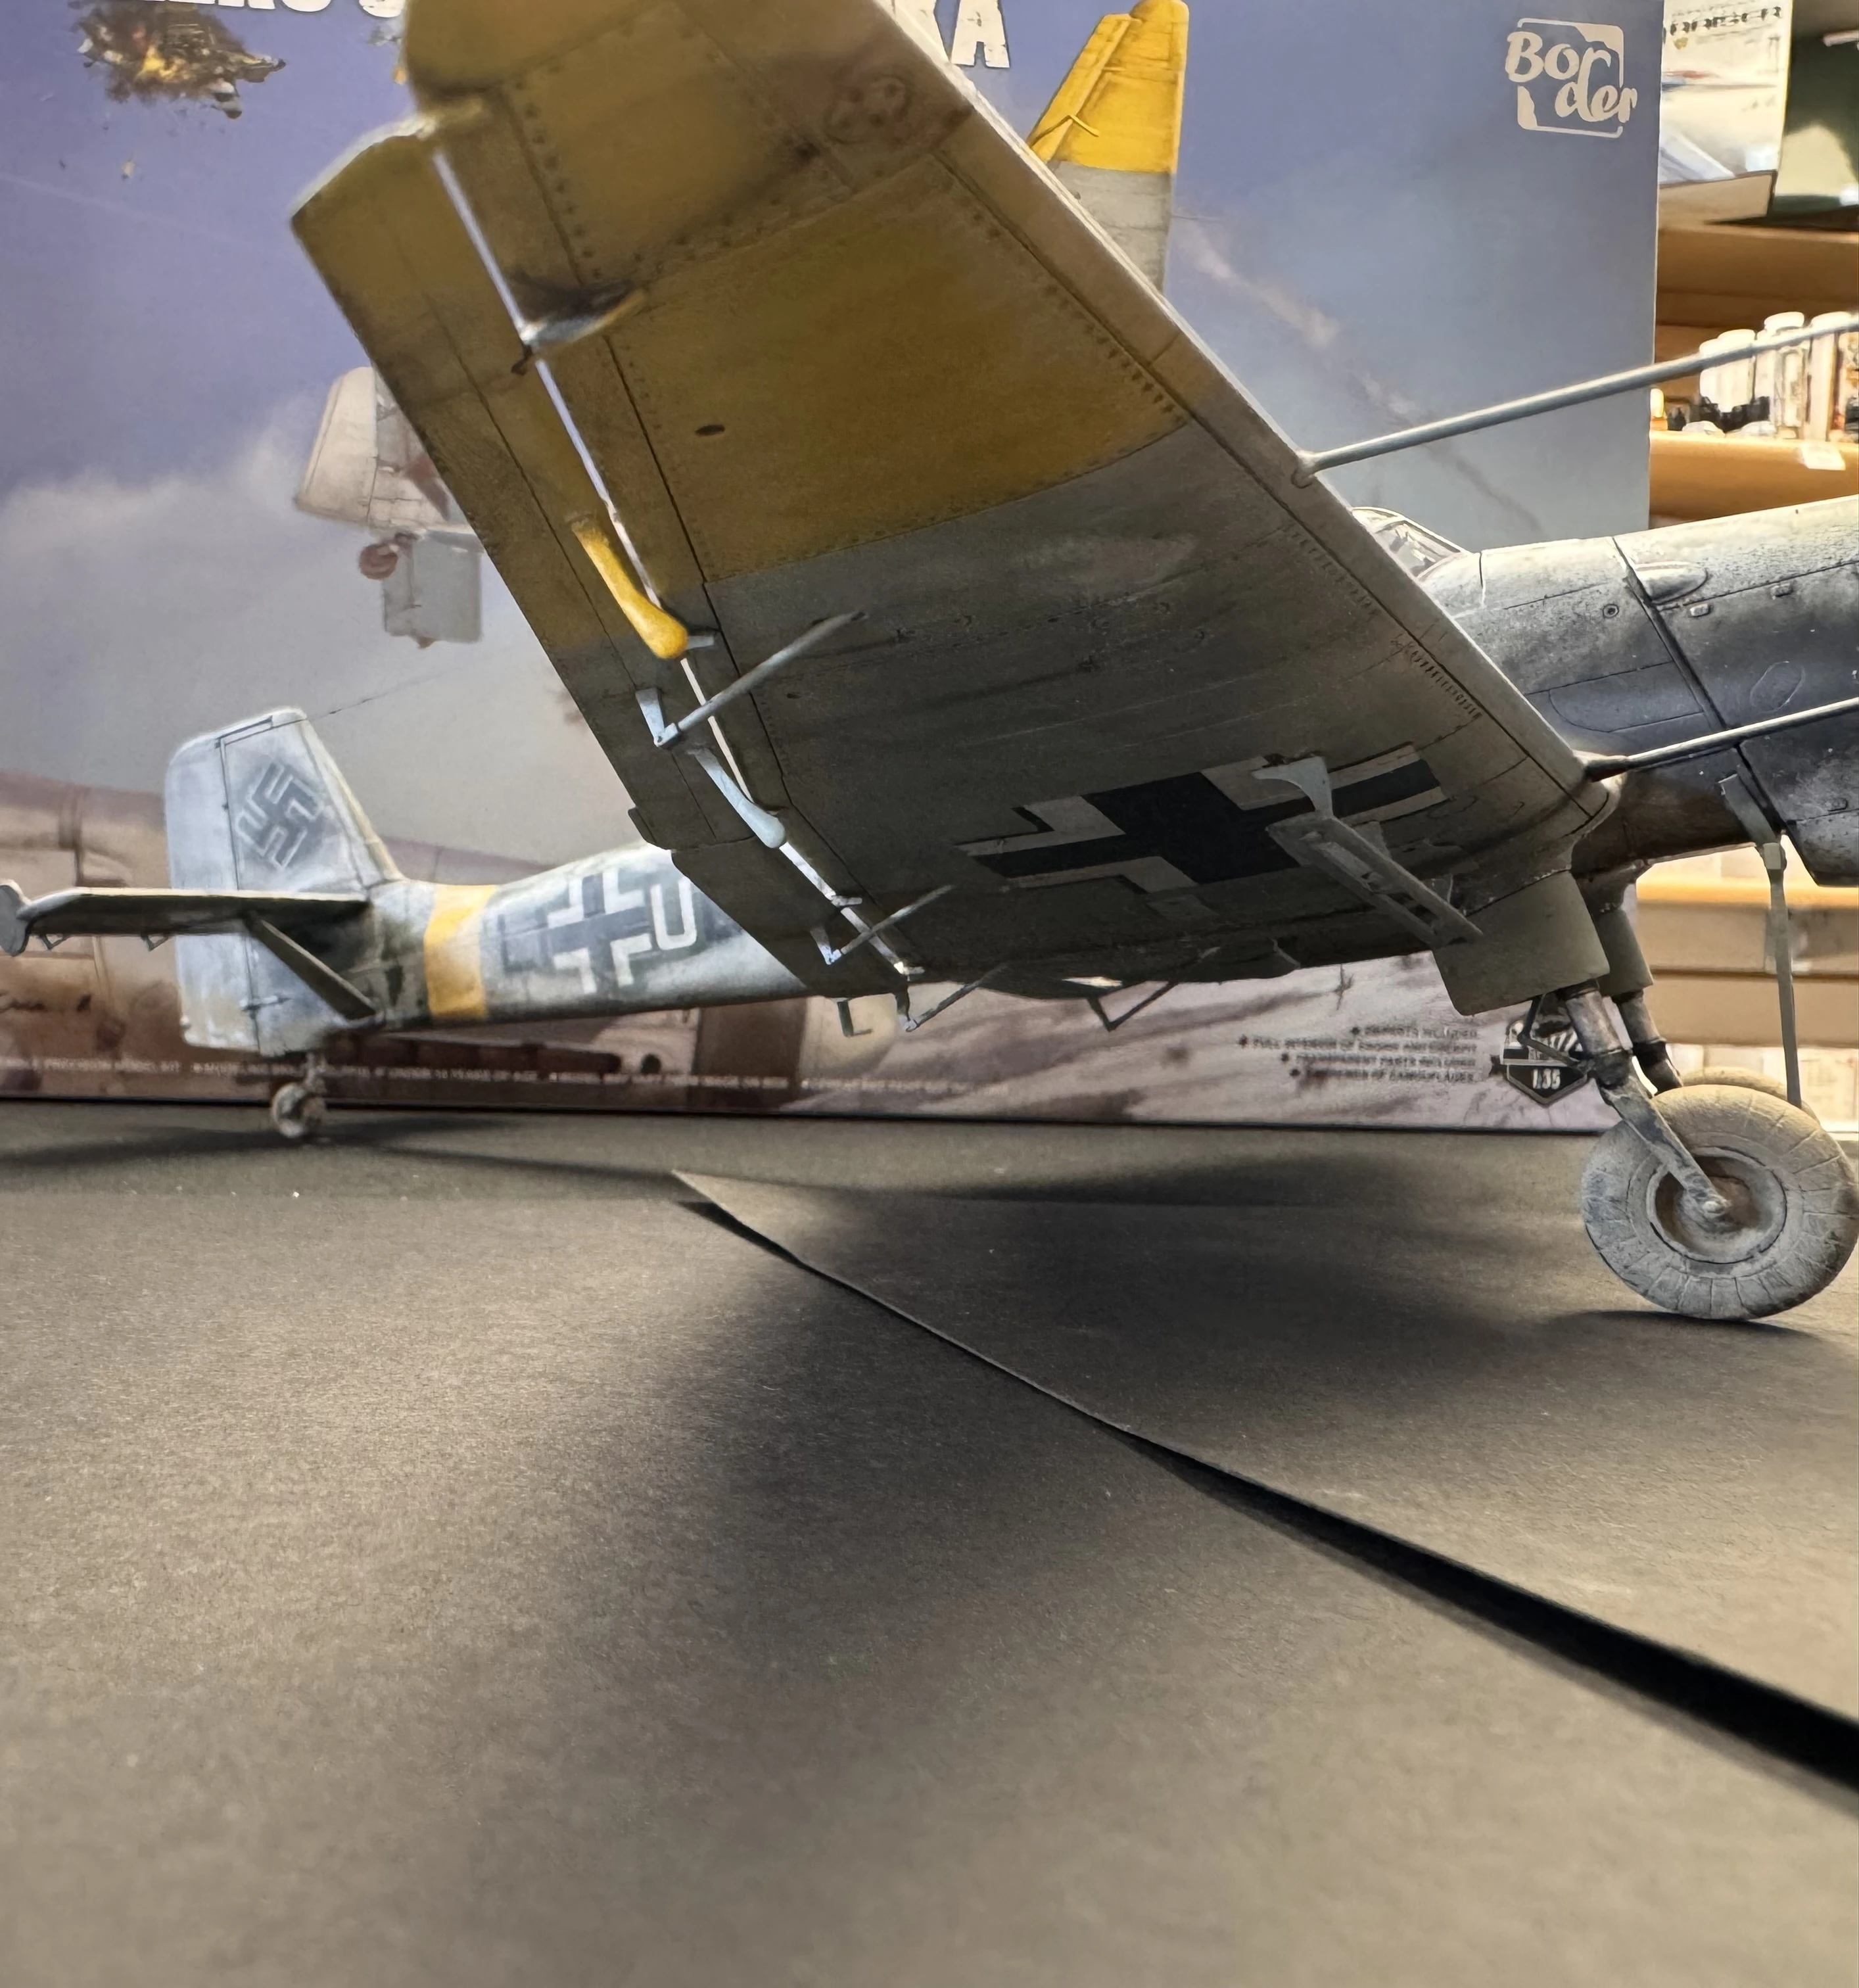
Underside - dirty wheels
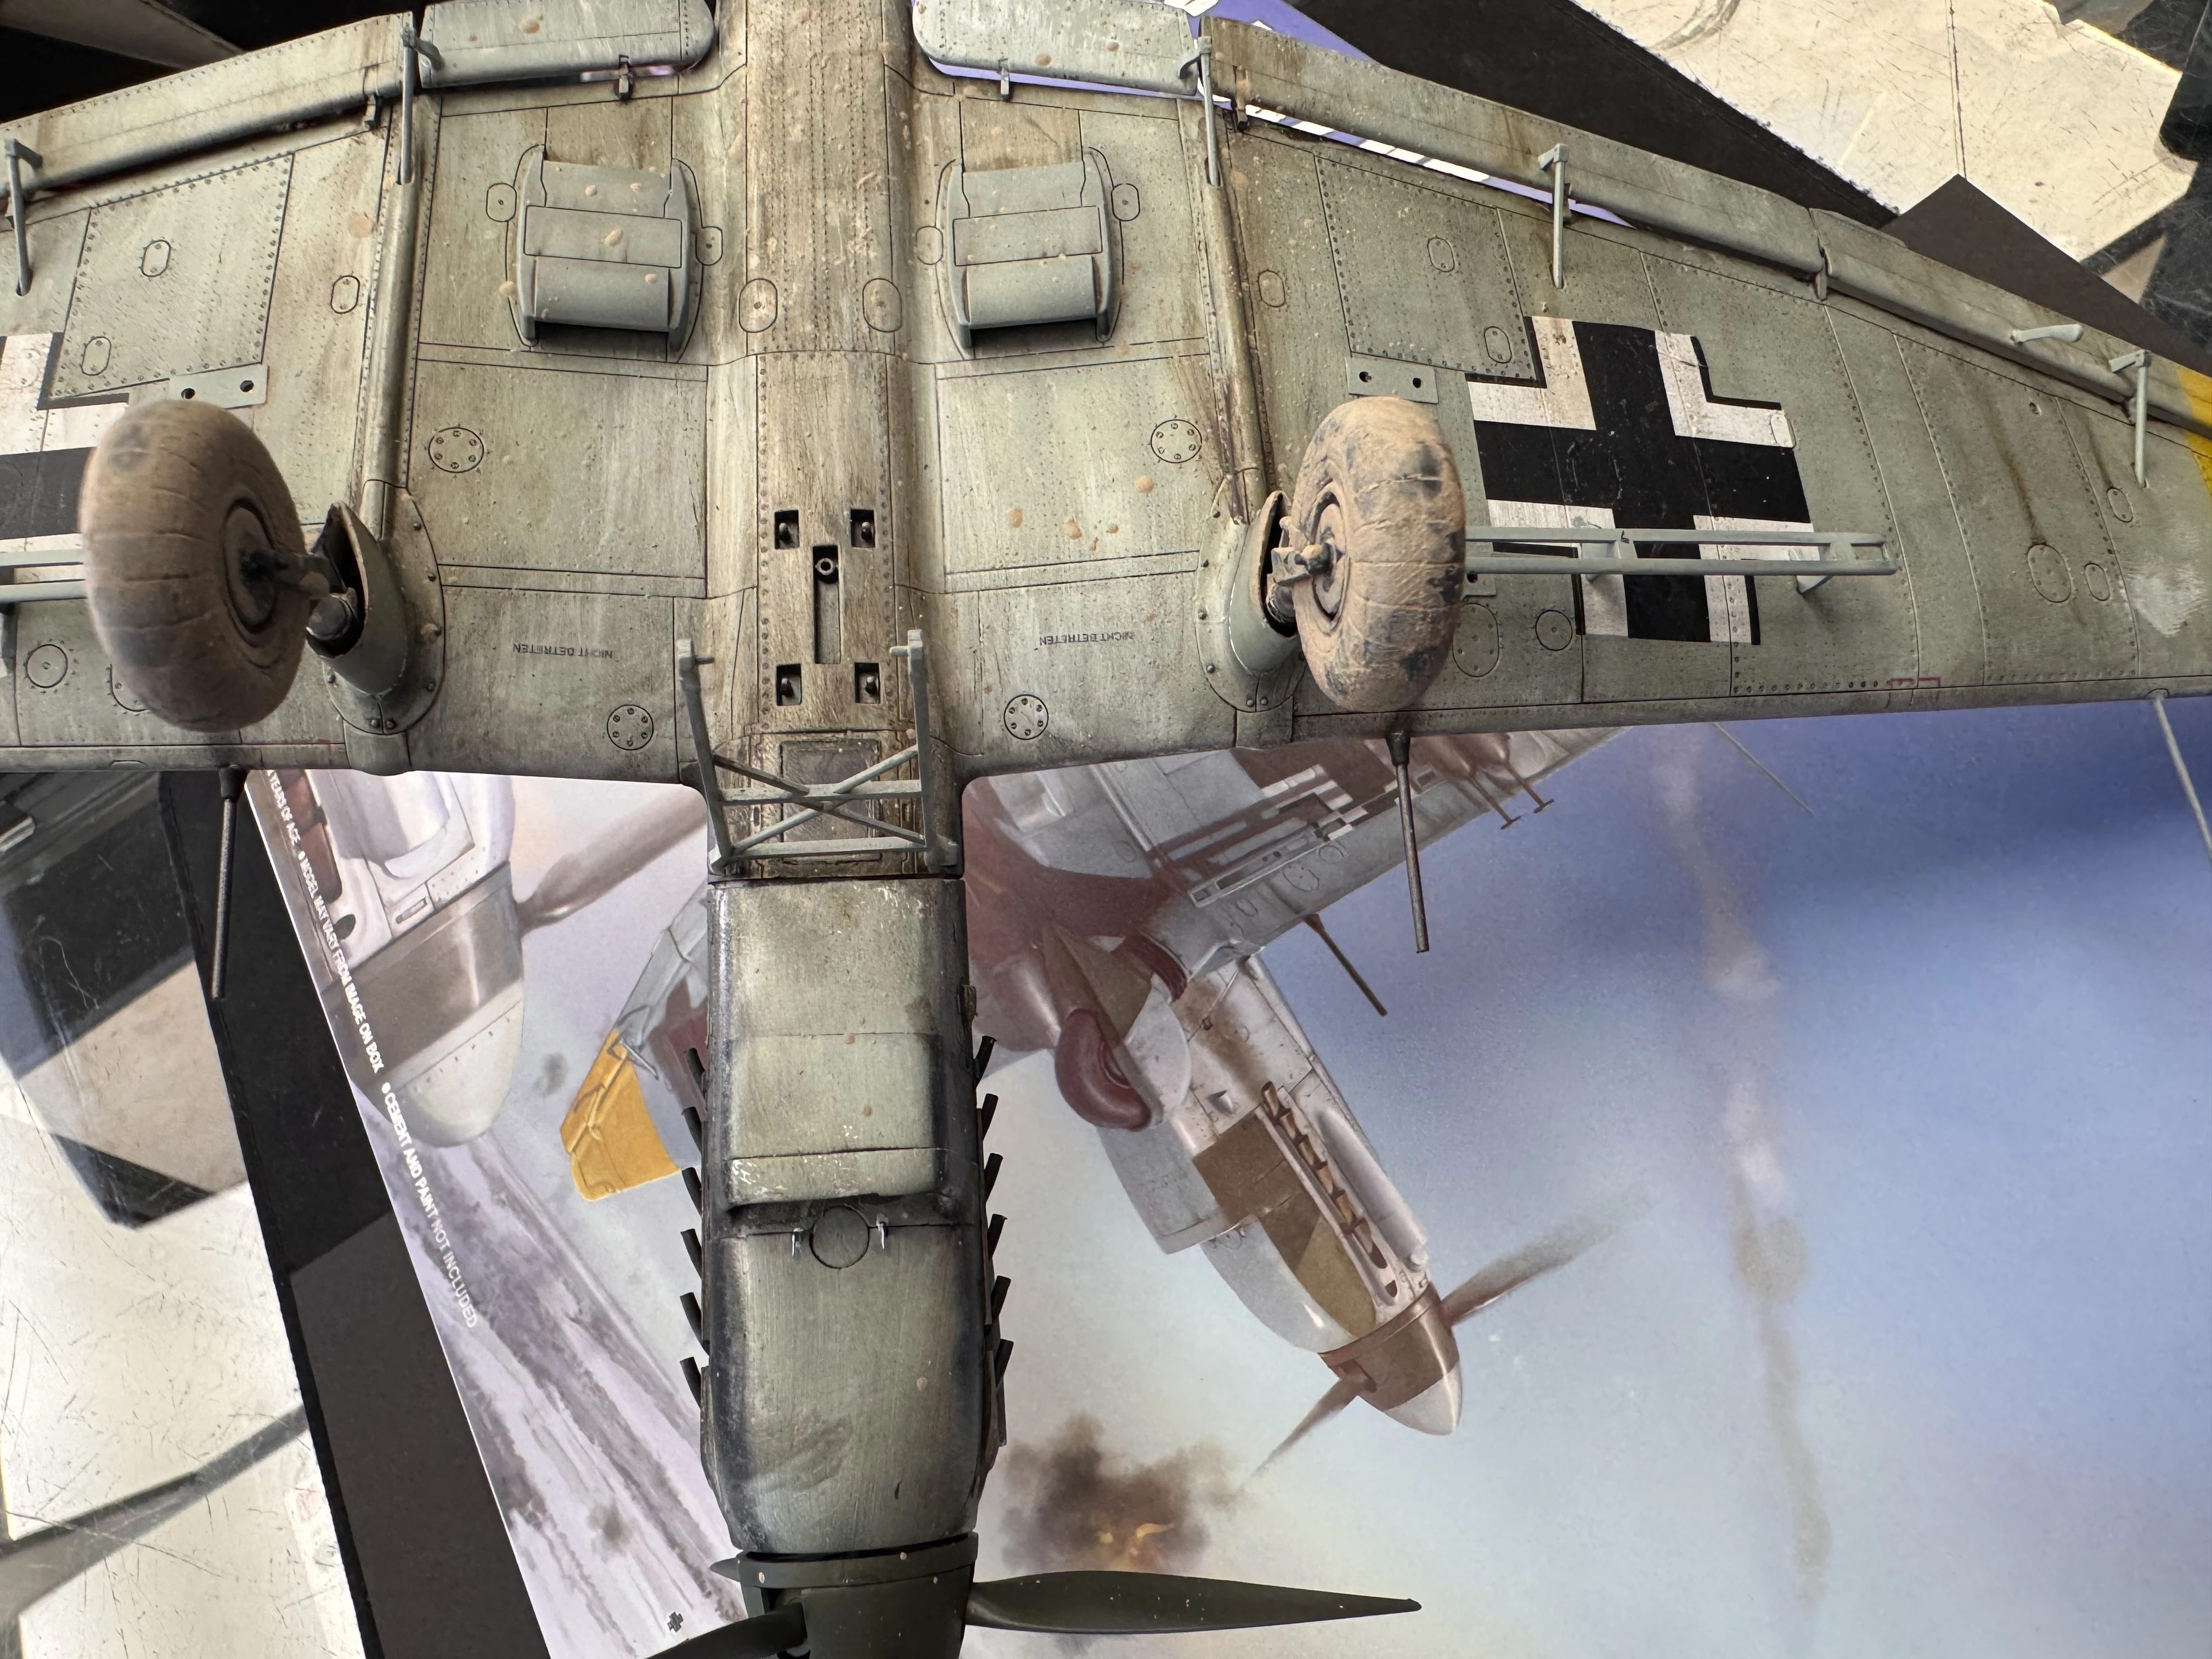
Underside nose - mud splatter
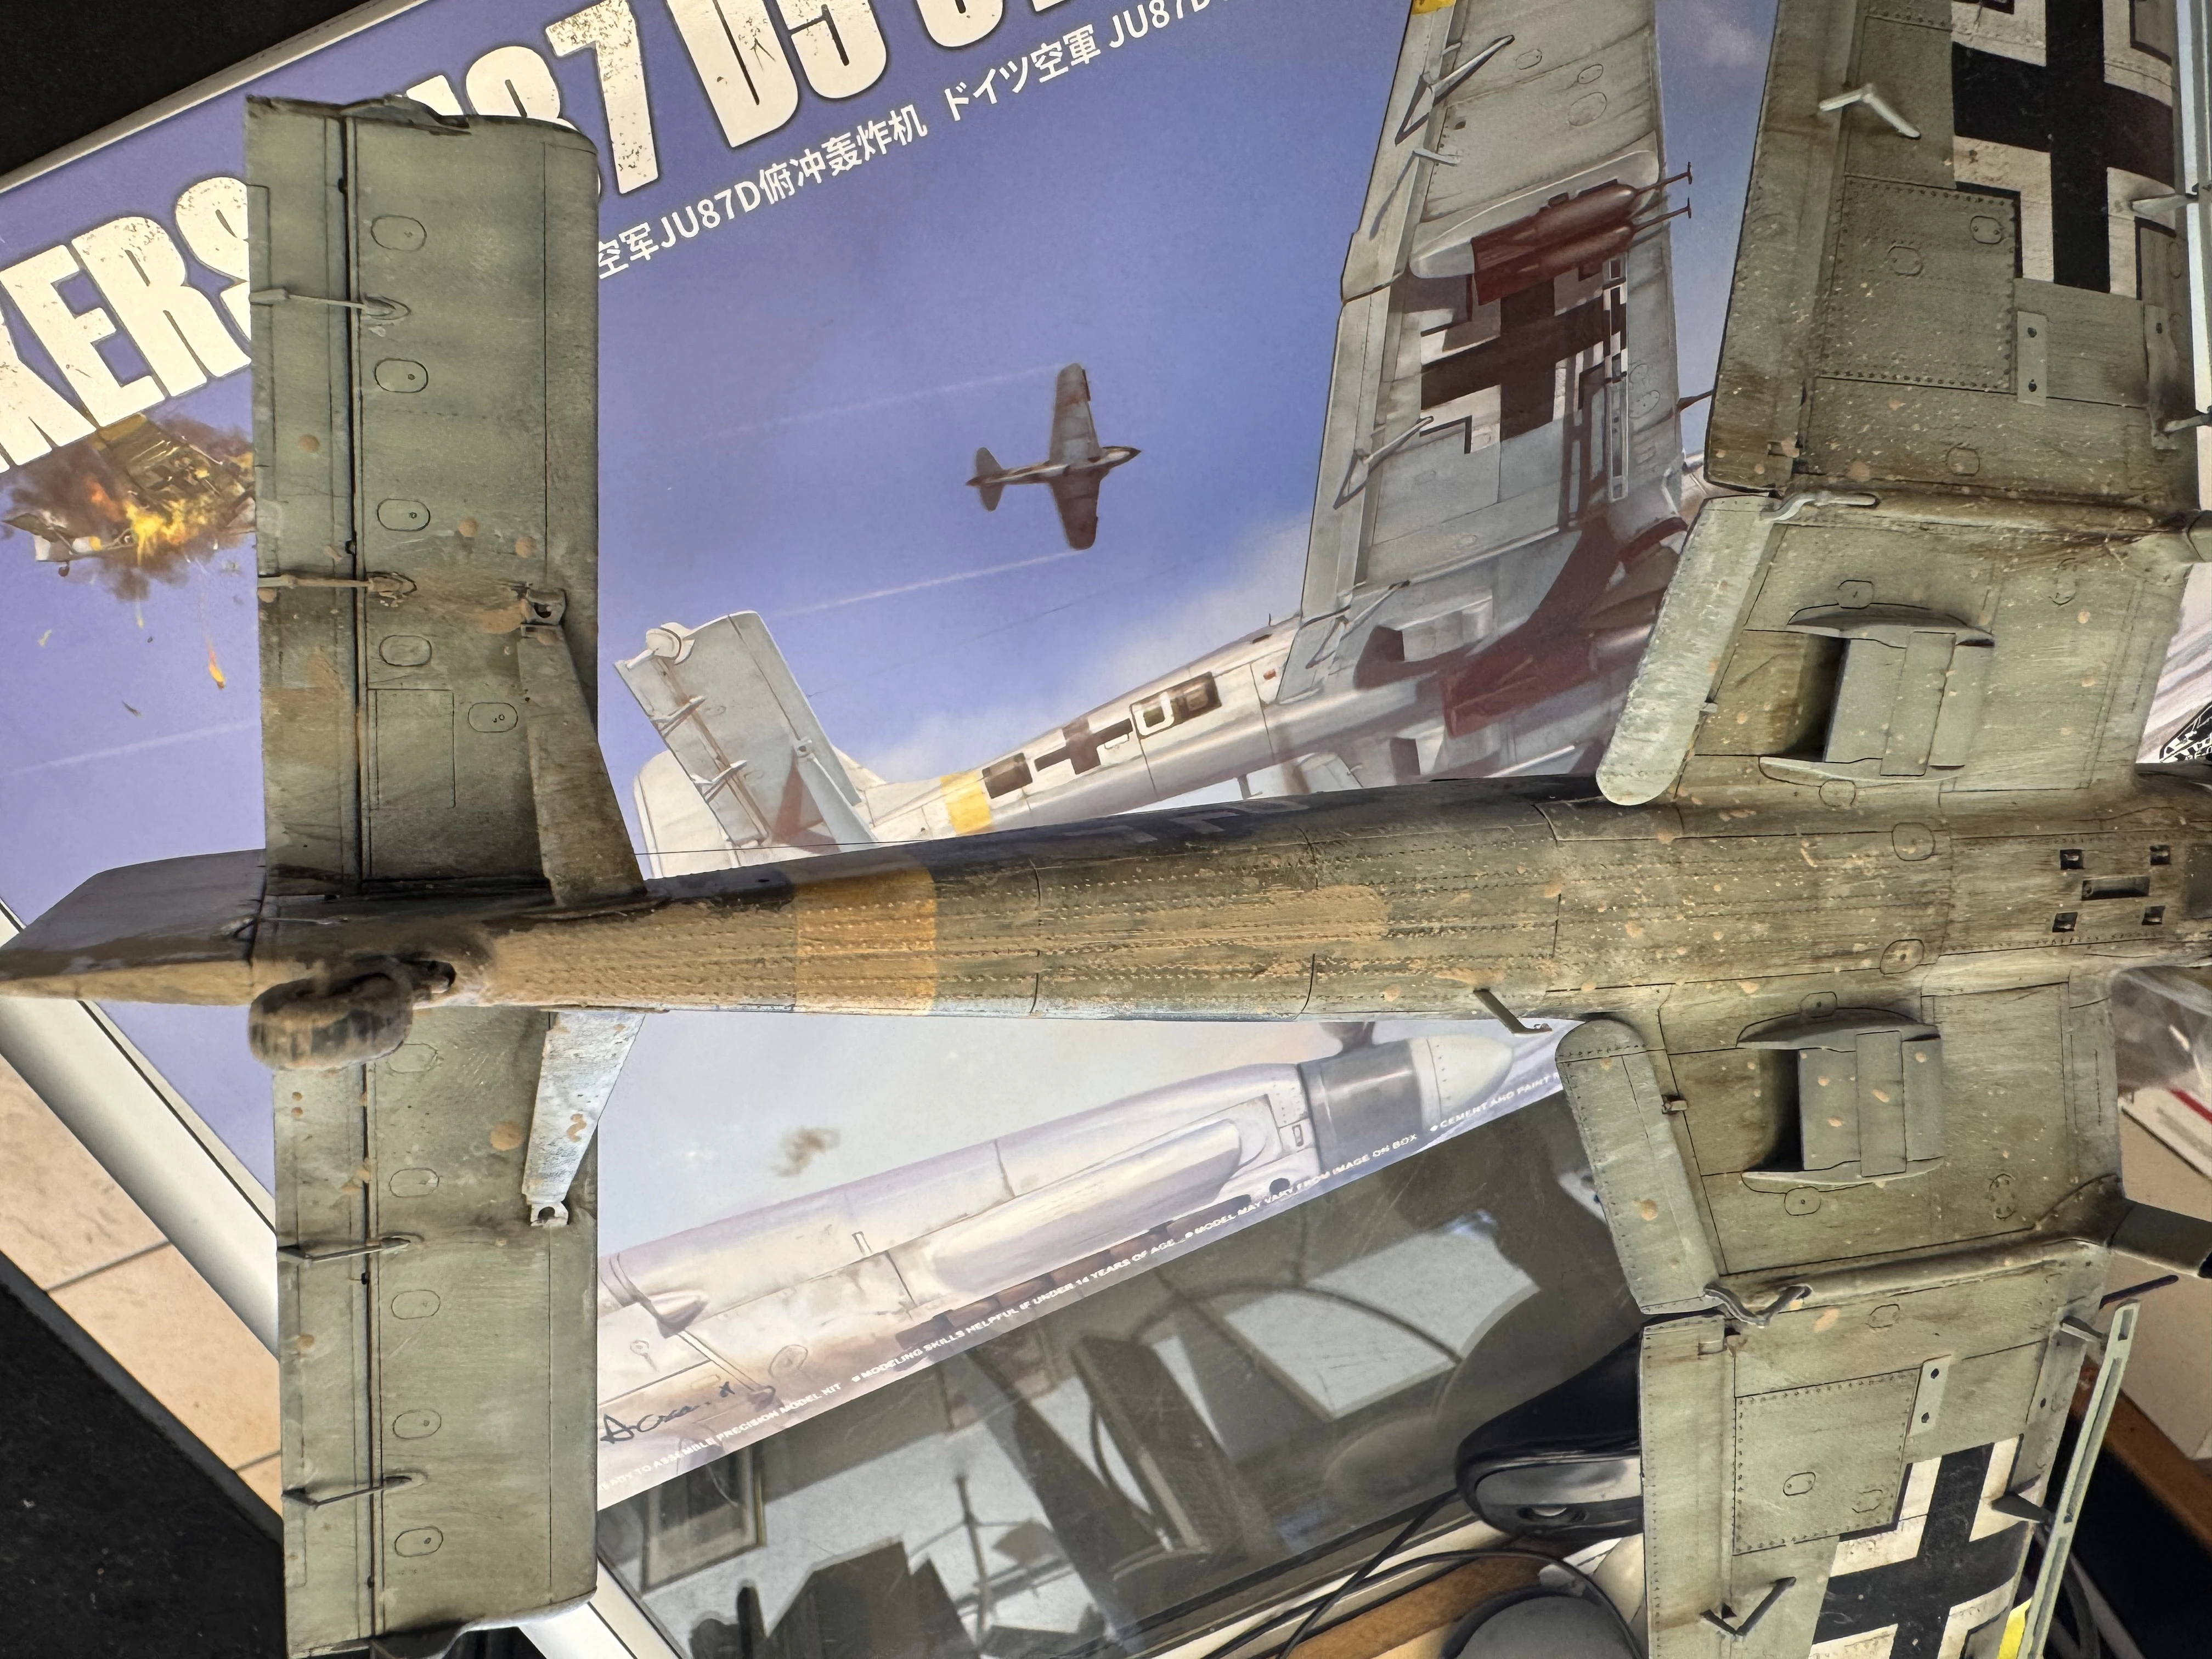
Underside tail - heavy mud
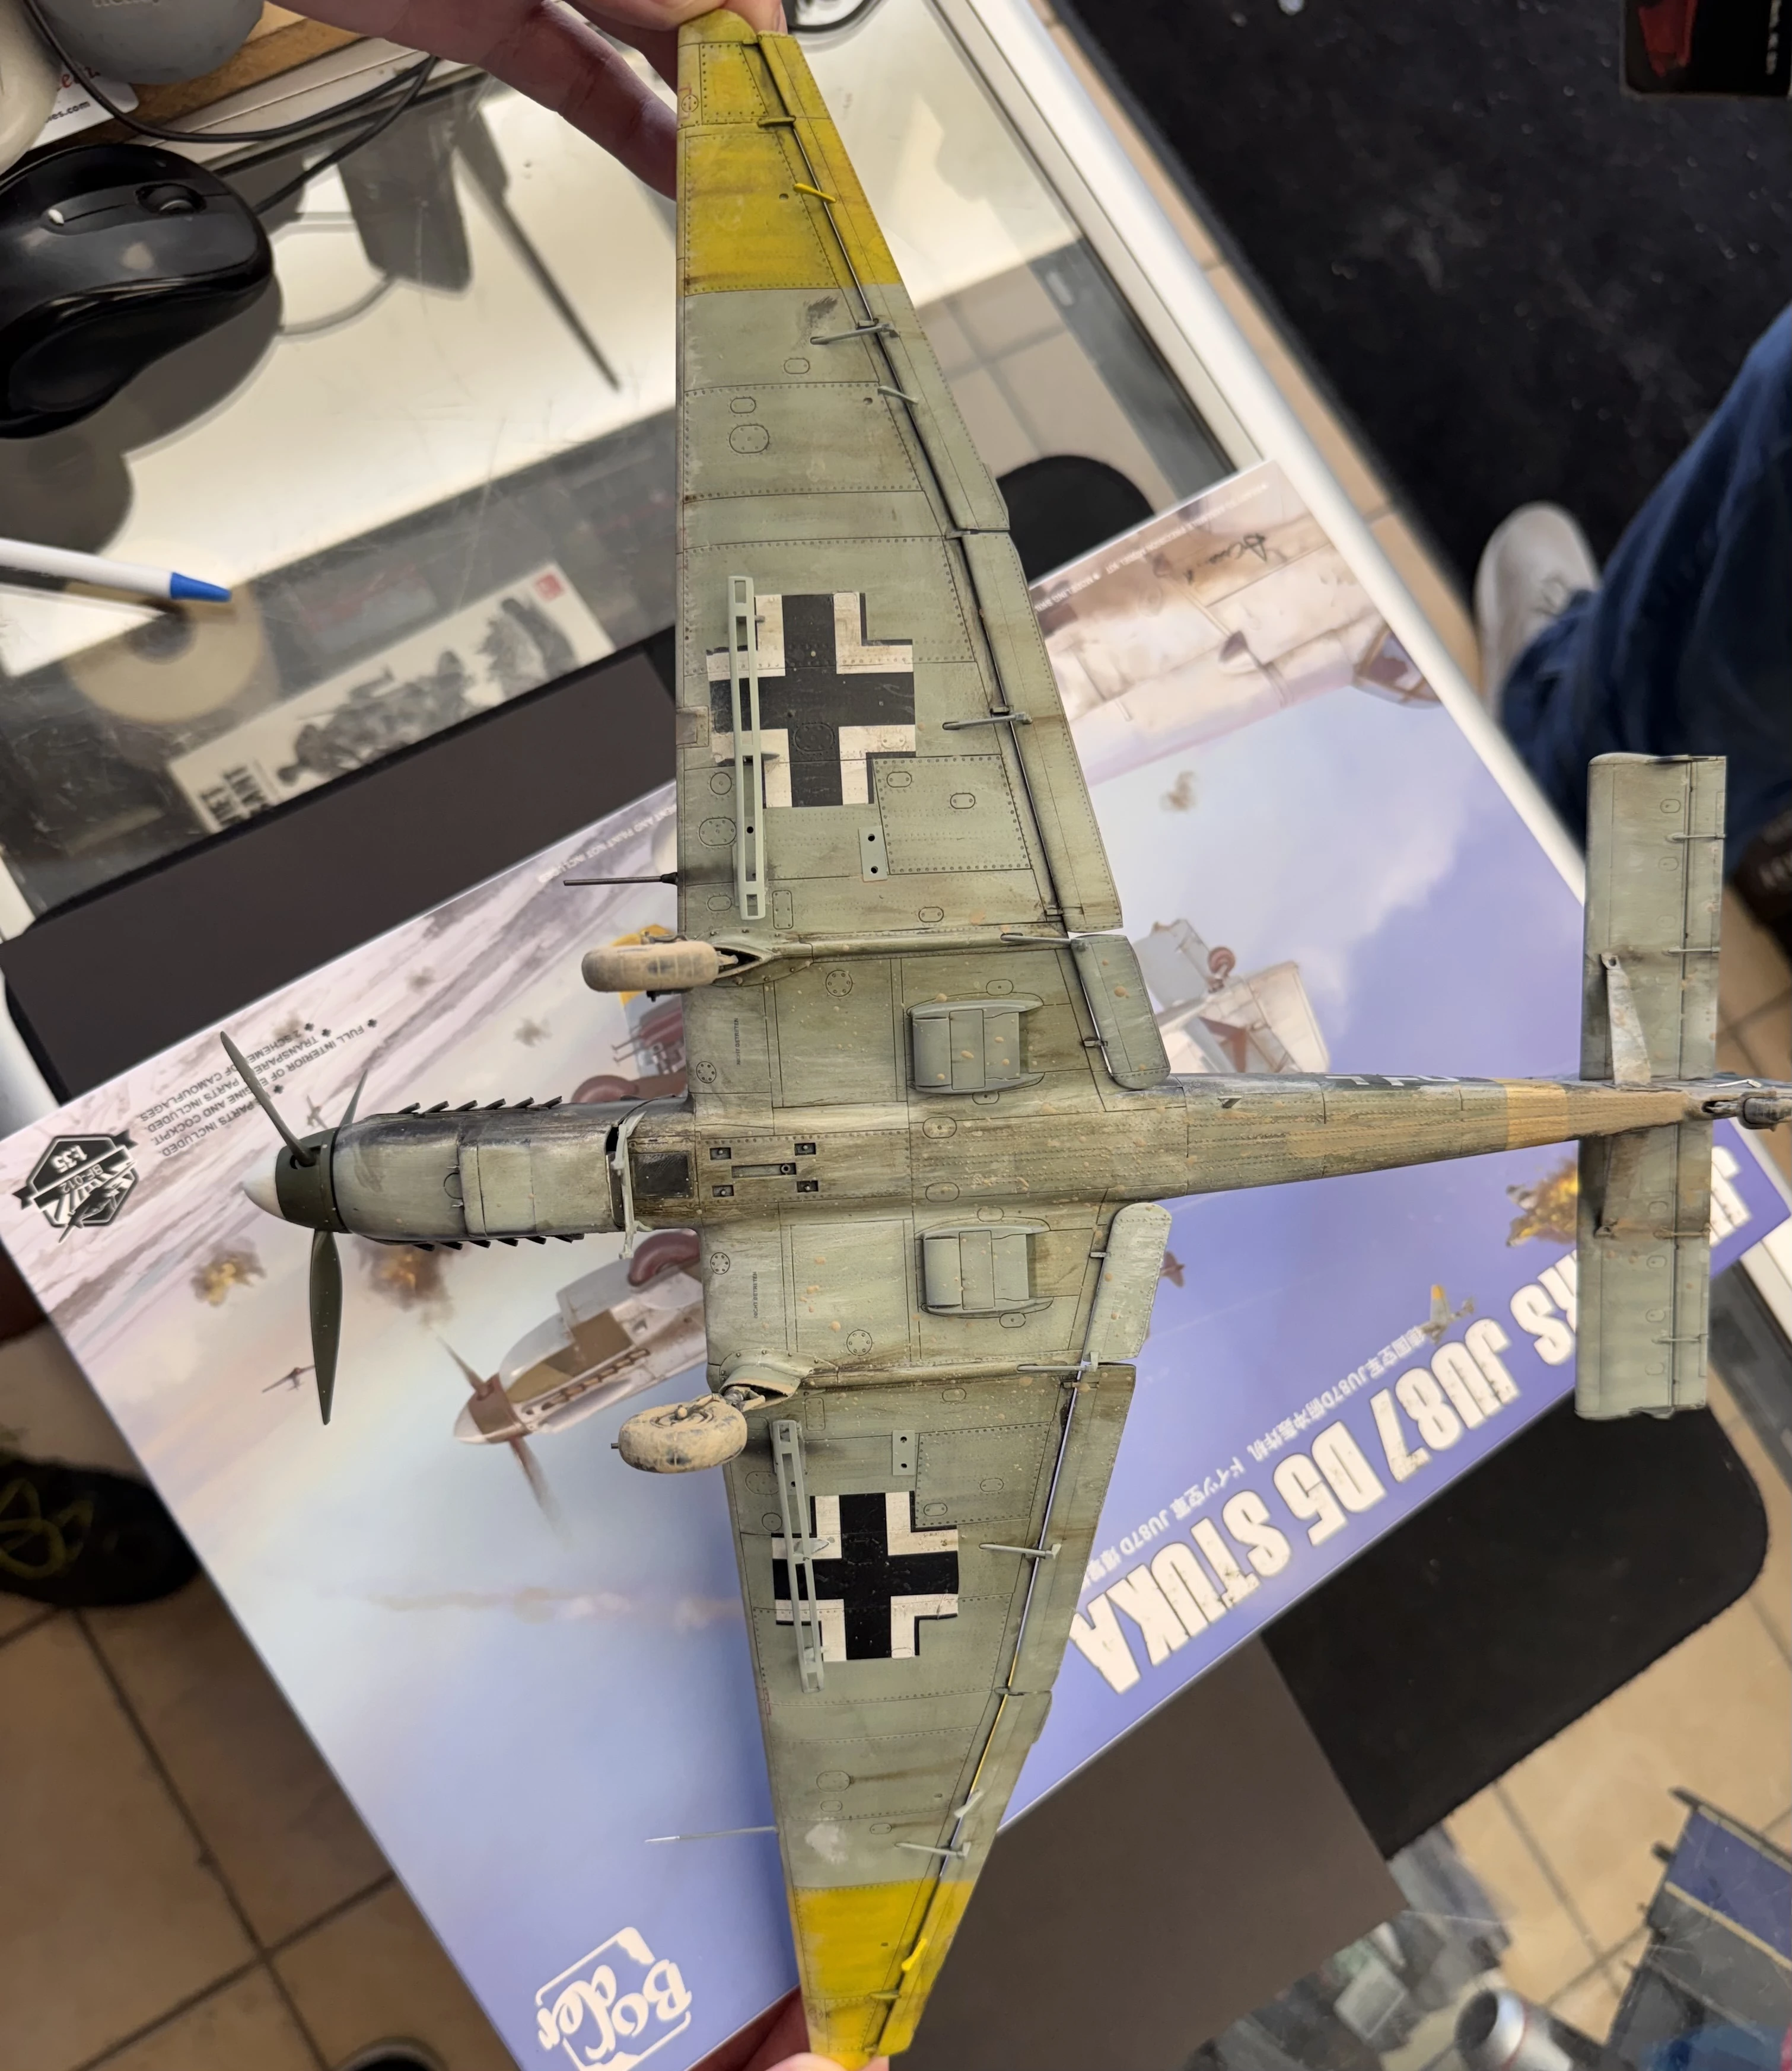
Underside full
The Finished Build
Border 1/35 JU-87 D5 Stuka. Eastern Front winter scheme. Heavy use shows.
Three-quarter left over front
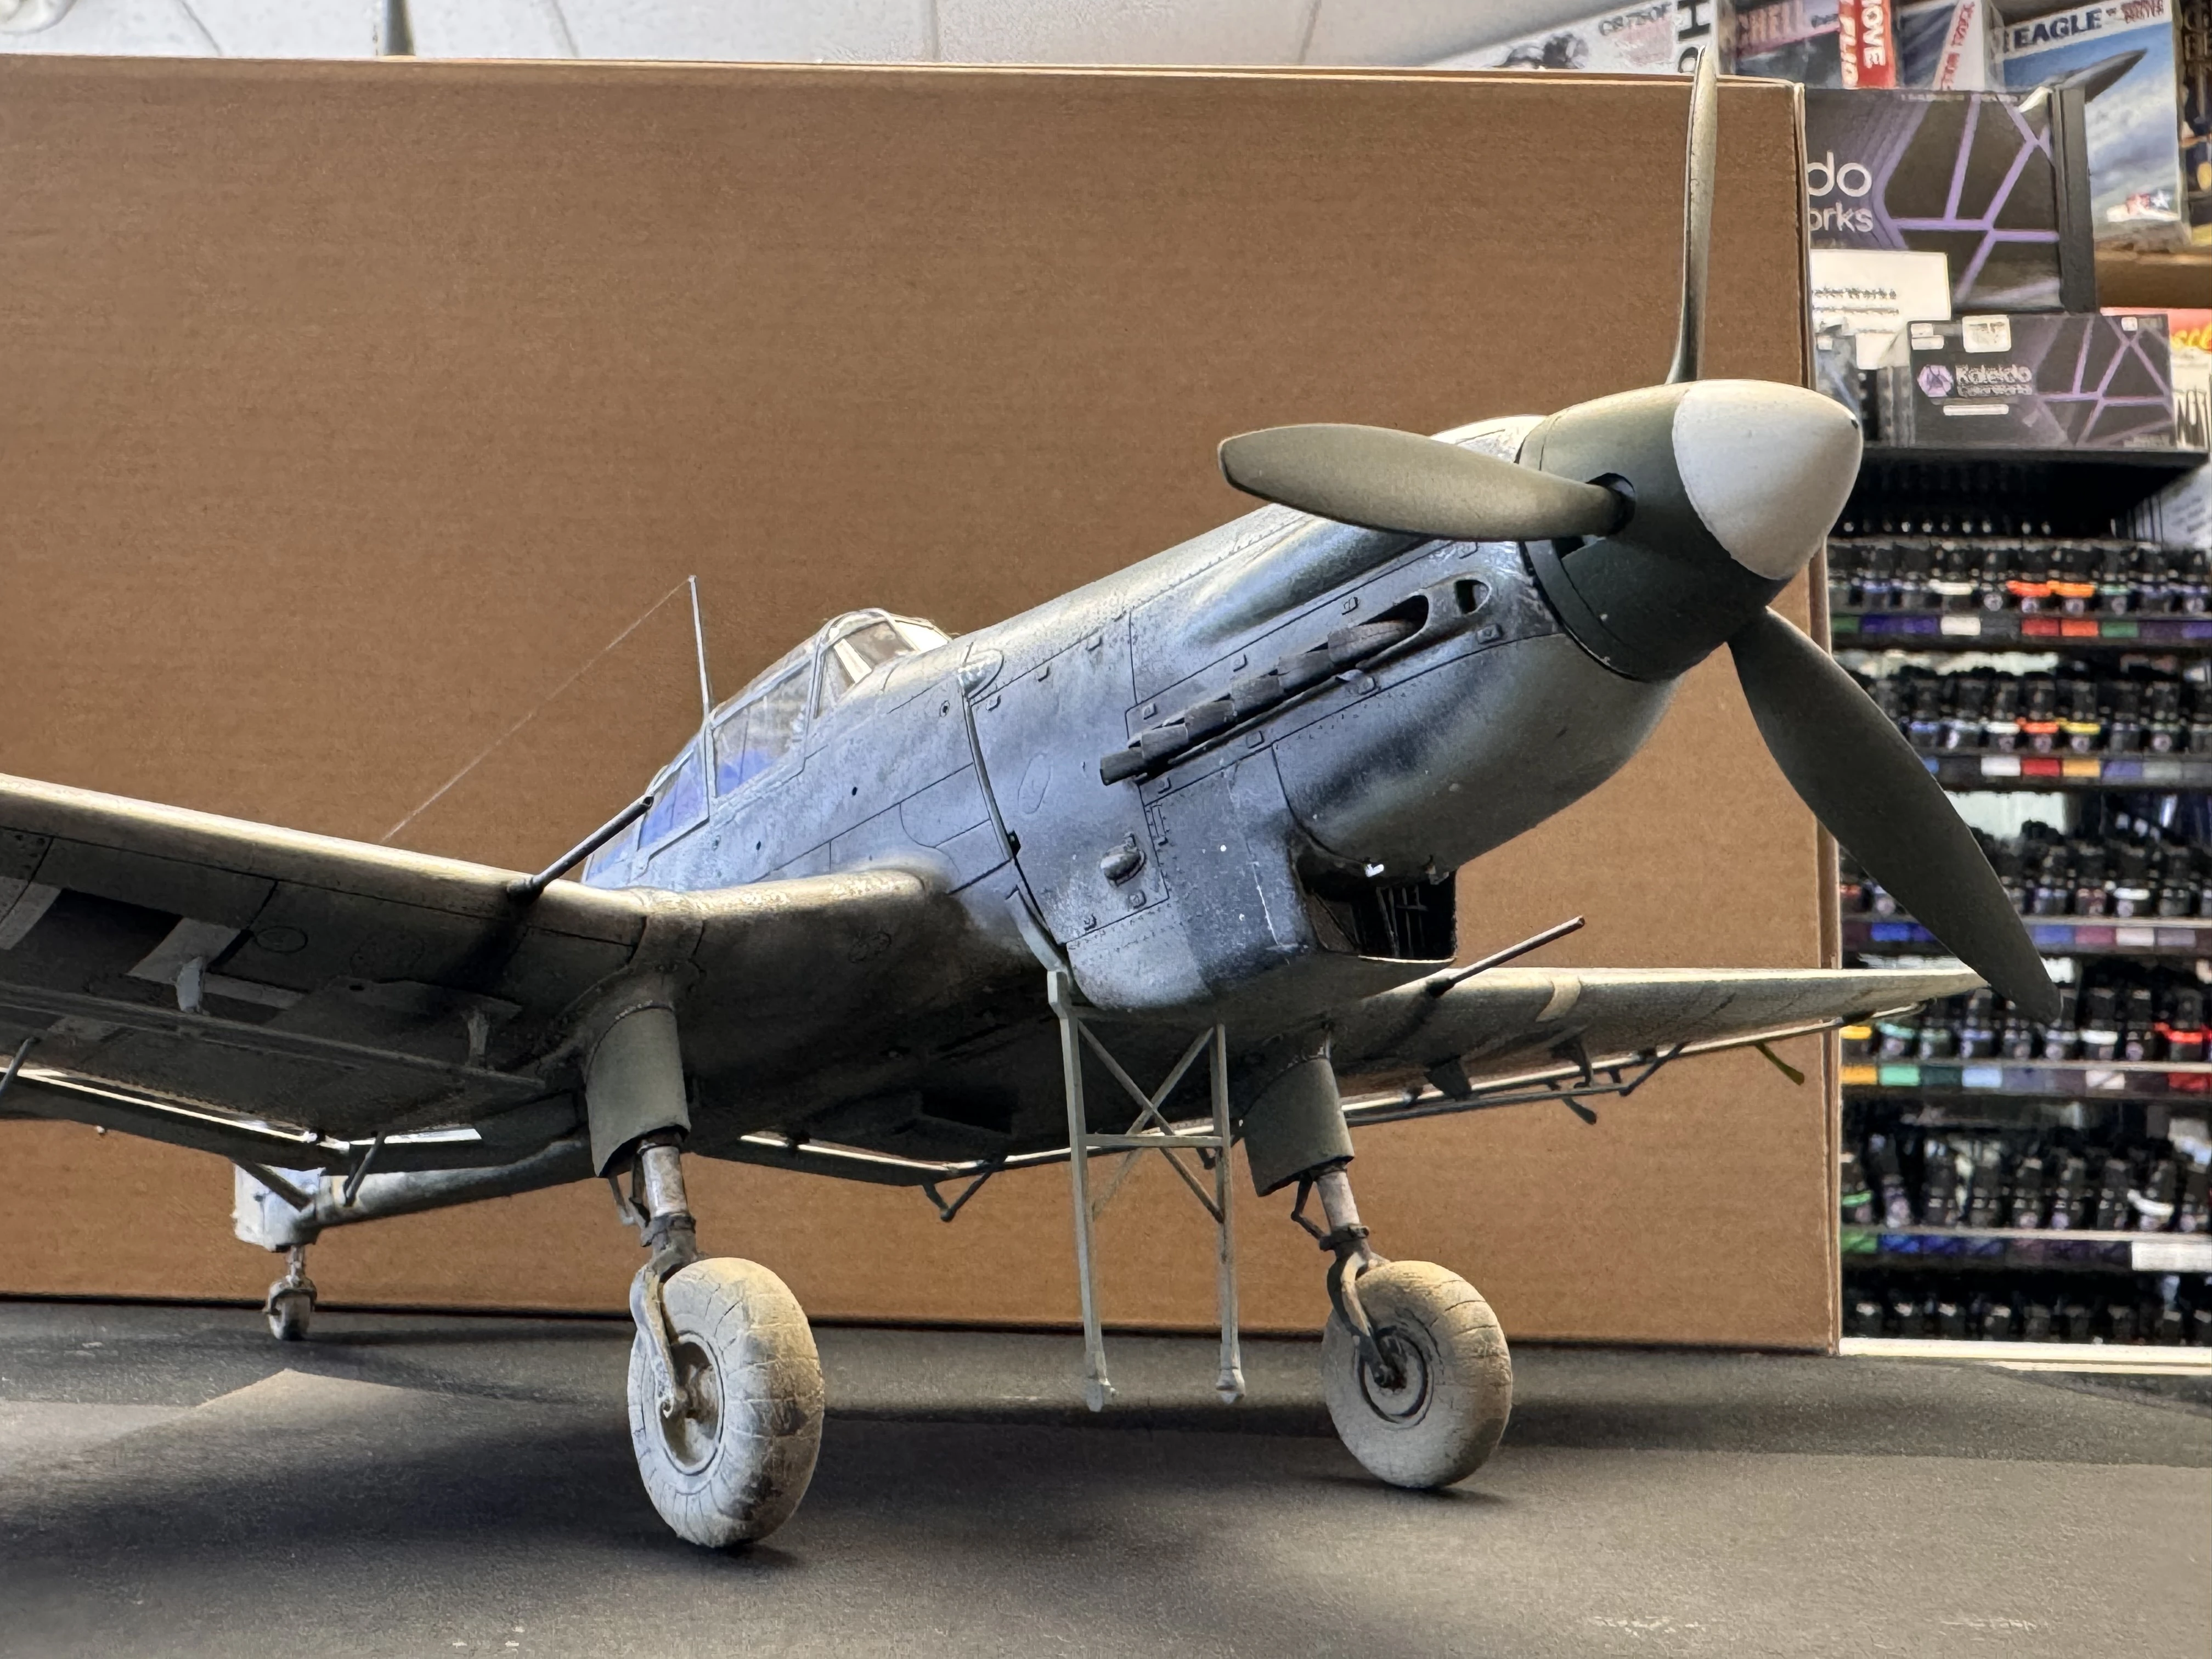
Three-quarter left under - engine and propellers
Top down with box art
Rear top down
All paints and supplies used in this build are in stock at Wheels and Wings Hobbies in Toronto, available online with Canada-wide shipping.
Shop Paints →Recent Posts
-

John's Starcraft Zerg Queen Paint Guide - Build Feature
Wheels and Wings Hobbies - Miniature Paint Guide John's Starcraft Zerg Queen Archon Studio - Starcra …Sep 24, 2026 -

Vlad's Tomb King on Necrolith Bone Dragon Paint Guide - Build Feature
Wheels and Wings Hobbies - Miniature Paint Guide Vlad's Tomb King on Necrolith Bone Dragon Warhammer …Sep 10, 2026 -
Kyle Paints Azrael, Supreme Grand Master of the Dark Angels - Build Feature
Wheels and Wings Hobbies - Miniature Paint Guide Kyle Paints Azrael, Supreme Grand Master of the Dar …Sep 09, 2026