
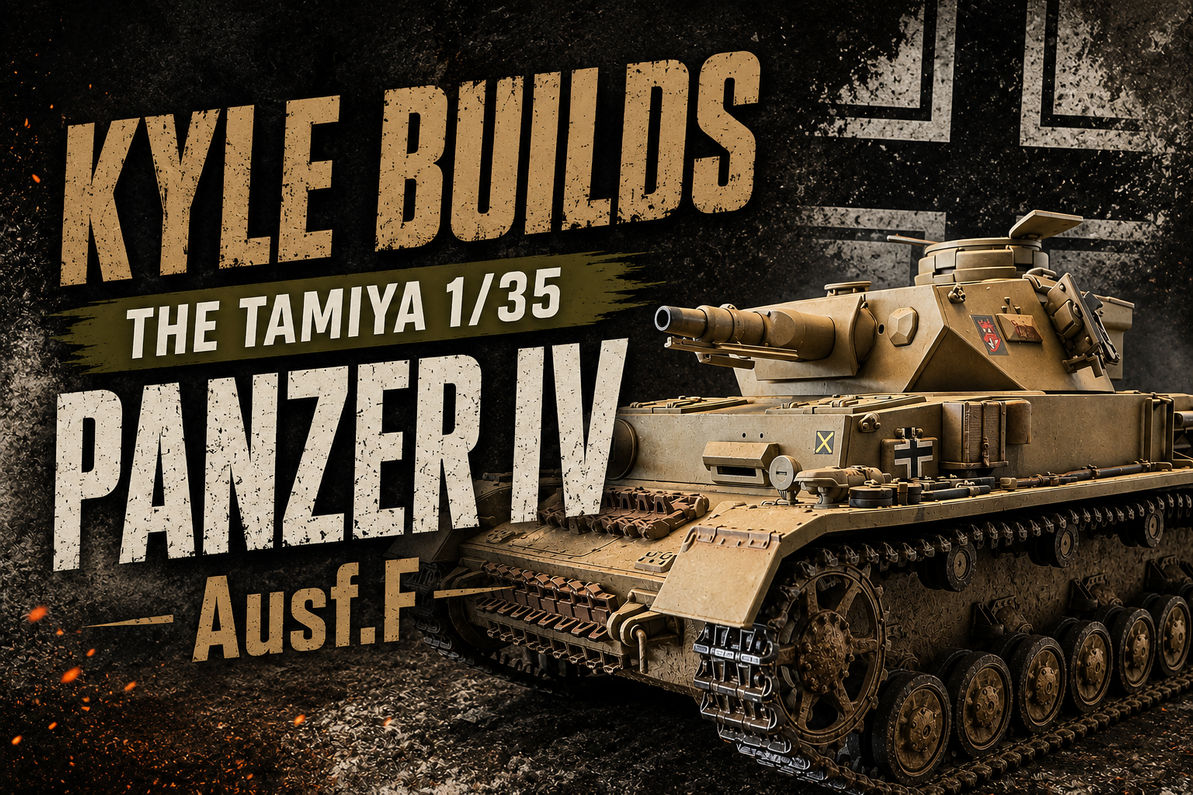
Kyle Builds the Tamiya 1/35 Panzer IV Ausf.F - Build Feature
Kyle Builds the Tamiya 1/35 Panzer IV Ausf.F
Tamiya 35374 - 1/35 Armour - Full Build Feature
The Tamiya 1/35 Panzer IV Ausf.F (kit 35374) - a mostly new tooling stamped 2020, built on the lower hull and suspension from Tamiya's mid-90s Ausf.J and H kits. Six years on from our original build review and this kit is still every bit as good as any other Tamiya release.
This build represents a vehicle intended for deployment to North Africa - hence the DAK yellow-brown and khaki camouflage scheme - that was instead redirected to the Eastern Front. An atypical scheme for an Eastern Front vehicle, and an interesting historical footnote worth building to.
The Ausf.F was the last Panzer IV armed with the short L/24 7.5cm gun, and also the first to use the wider 40cm tracks. If you plan on using aftermarket tracks, make sure you source 40cm - not the earlier 36cm.
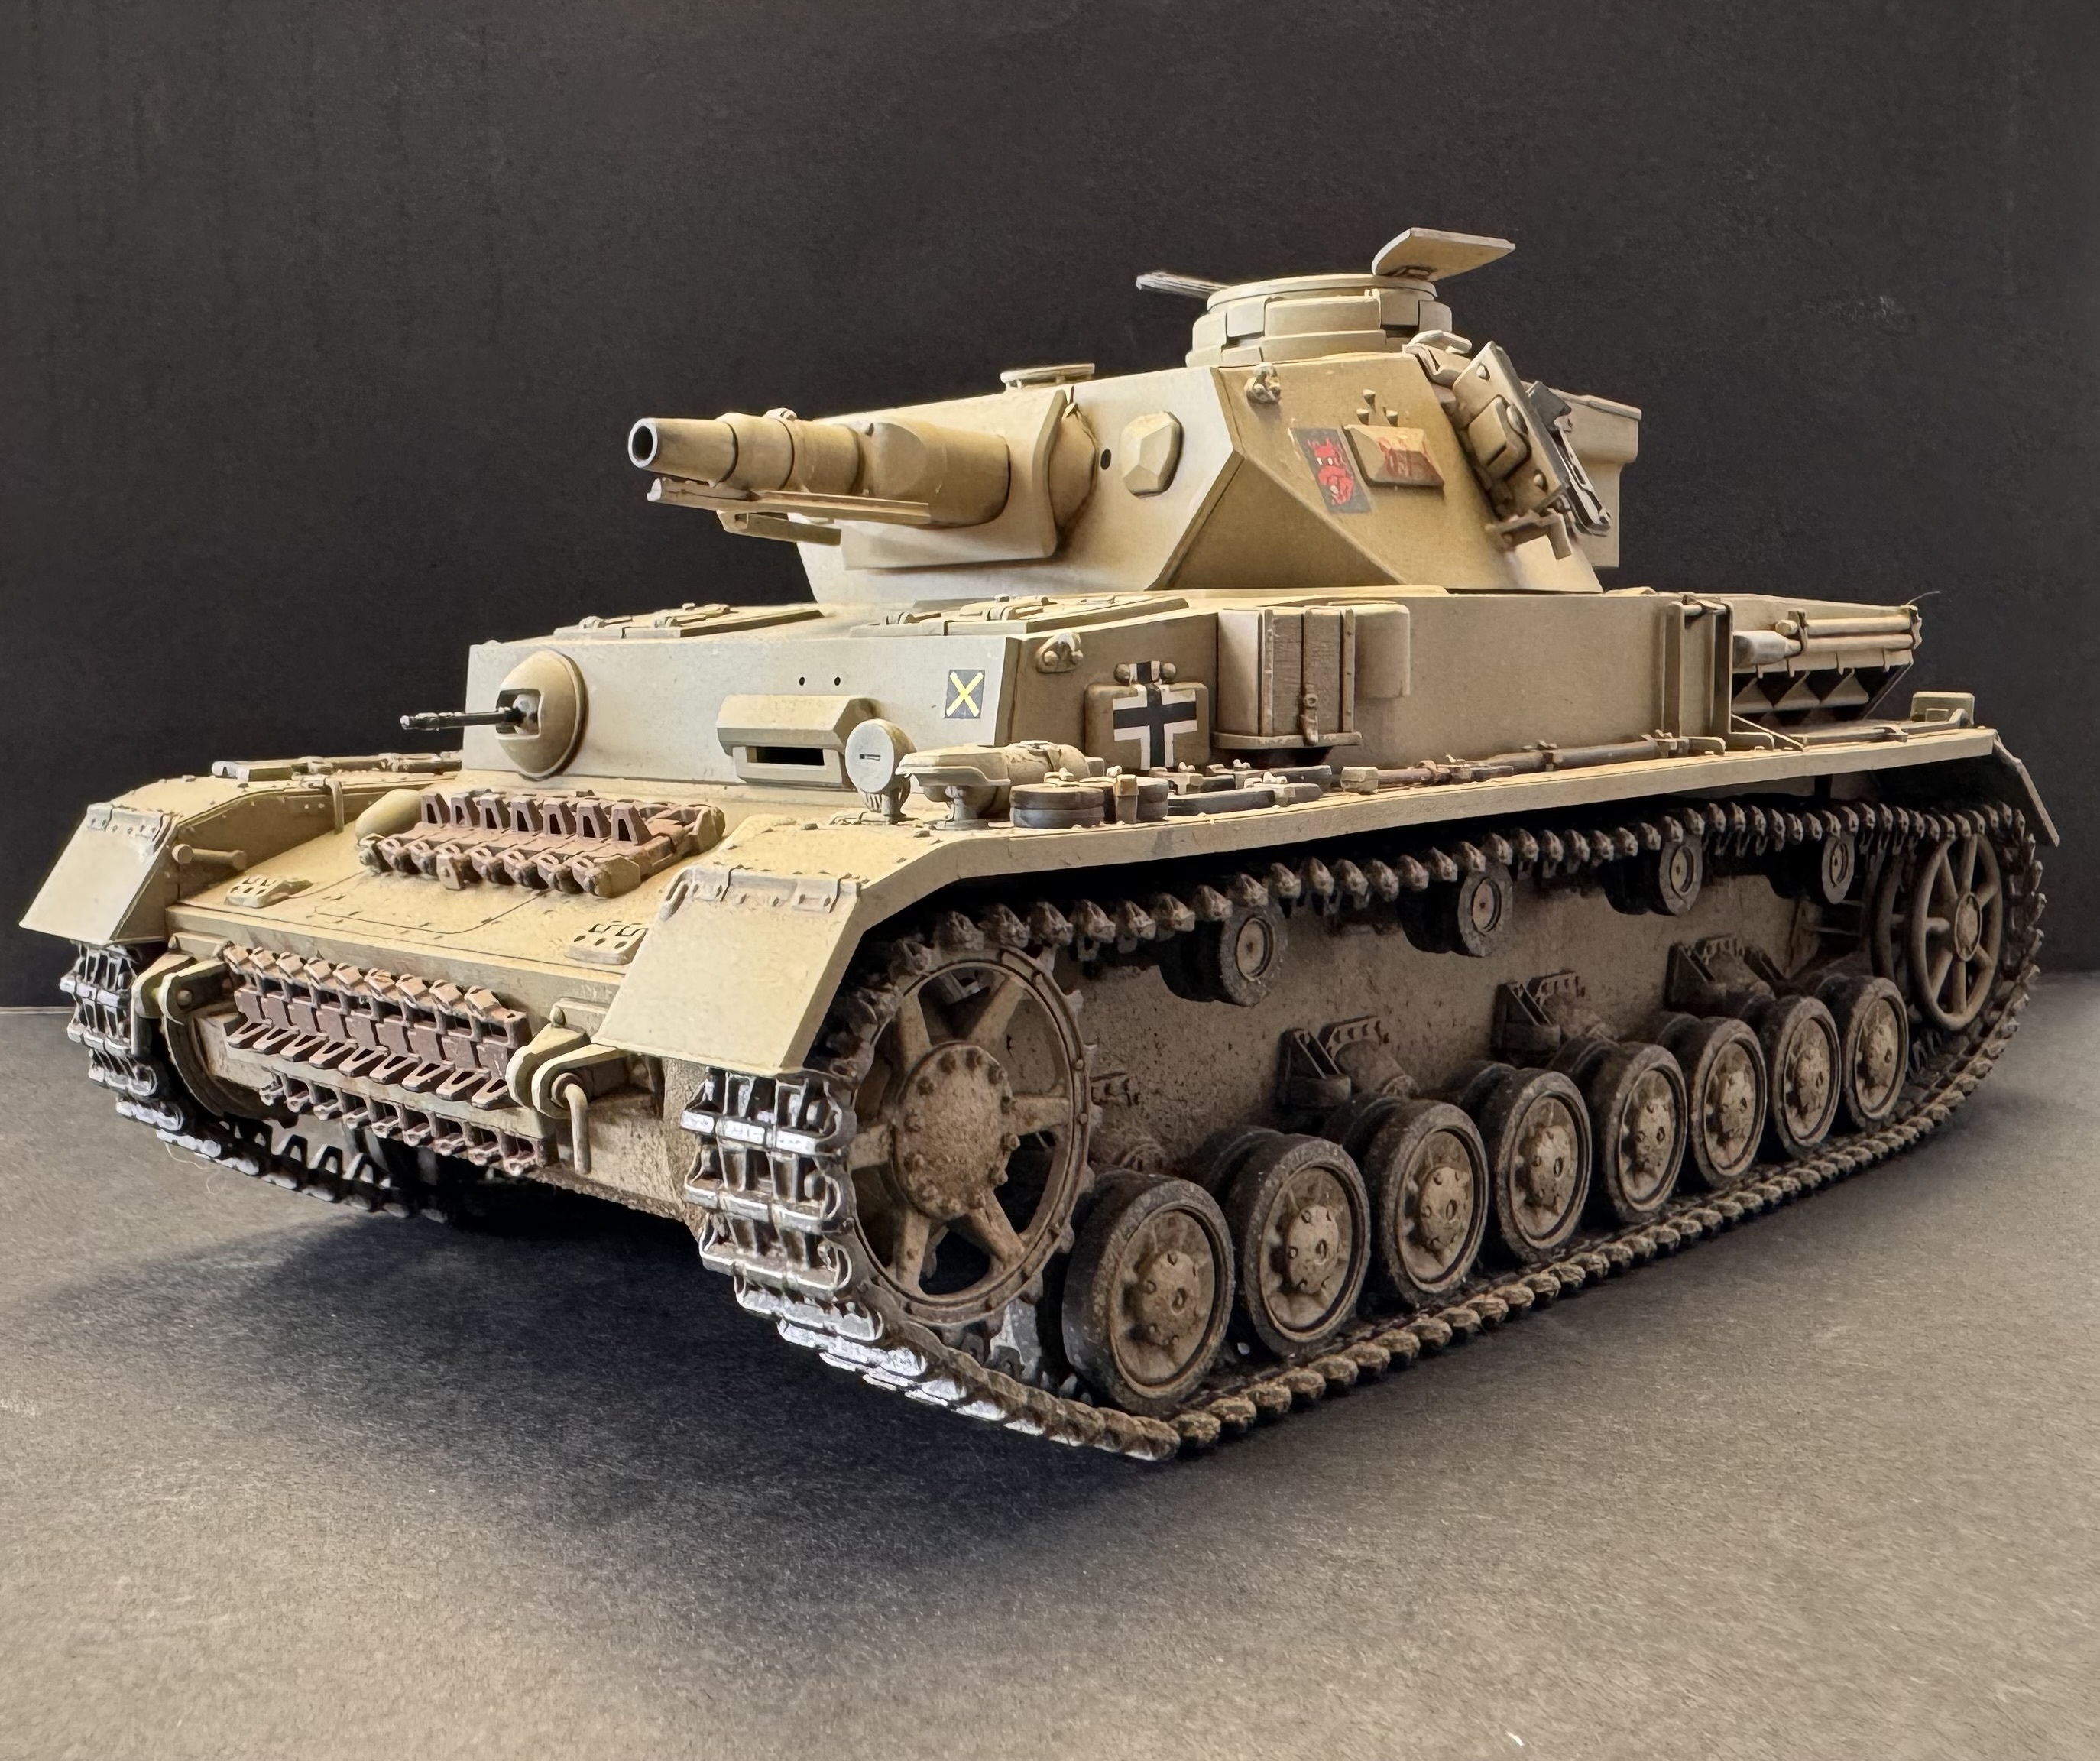
Tamiya 1/35 Panzer IV Ausf.F - DAK scheme redirected to the Eastern Front.
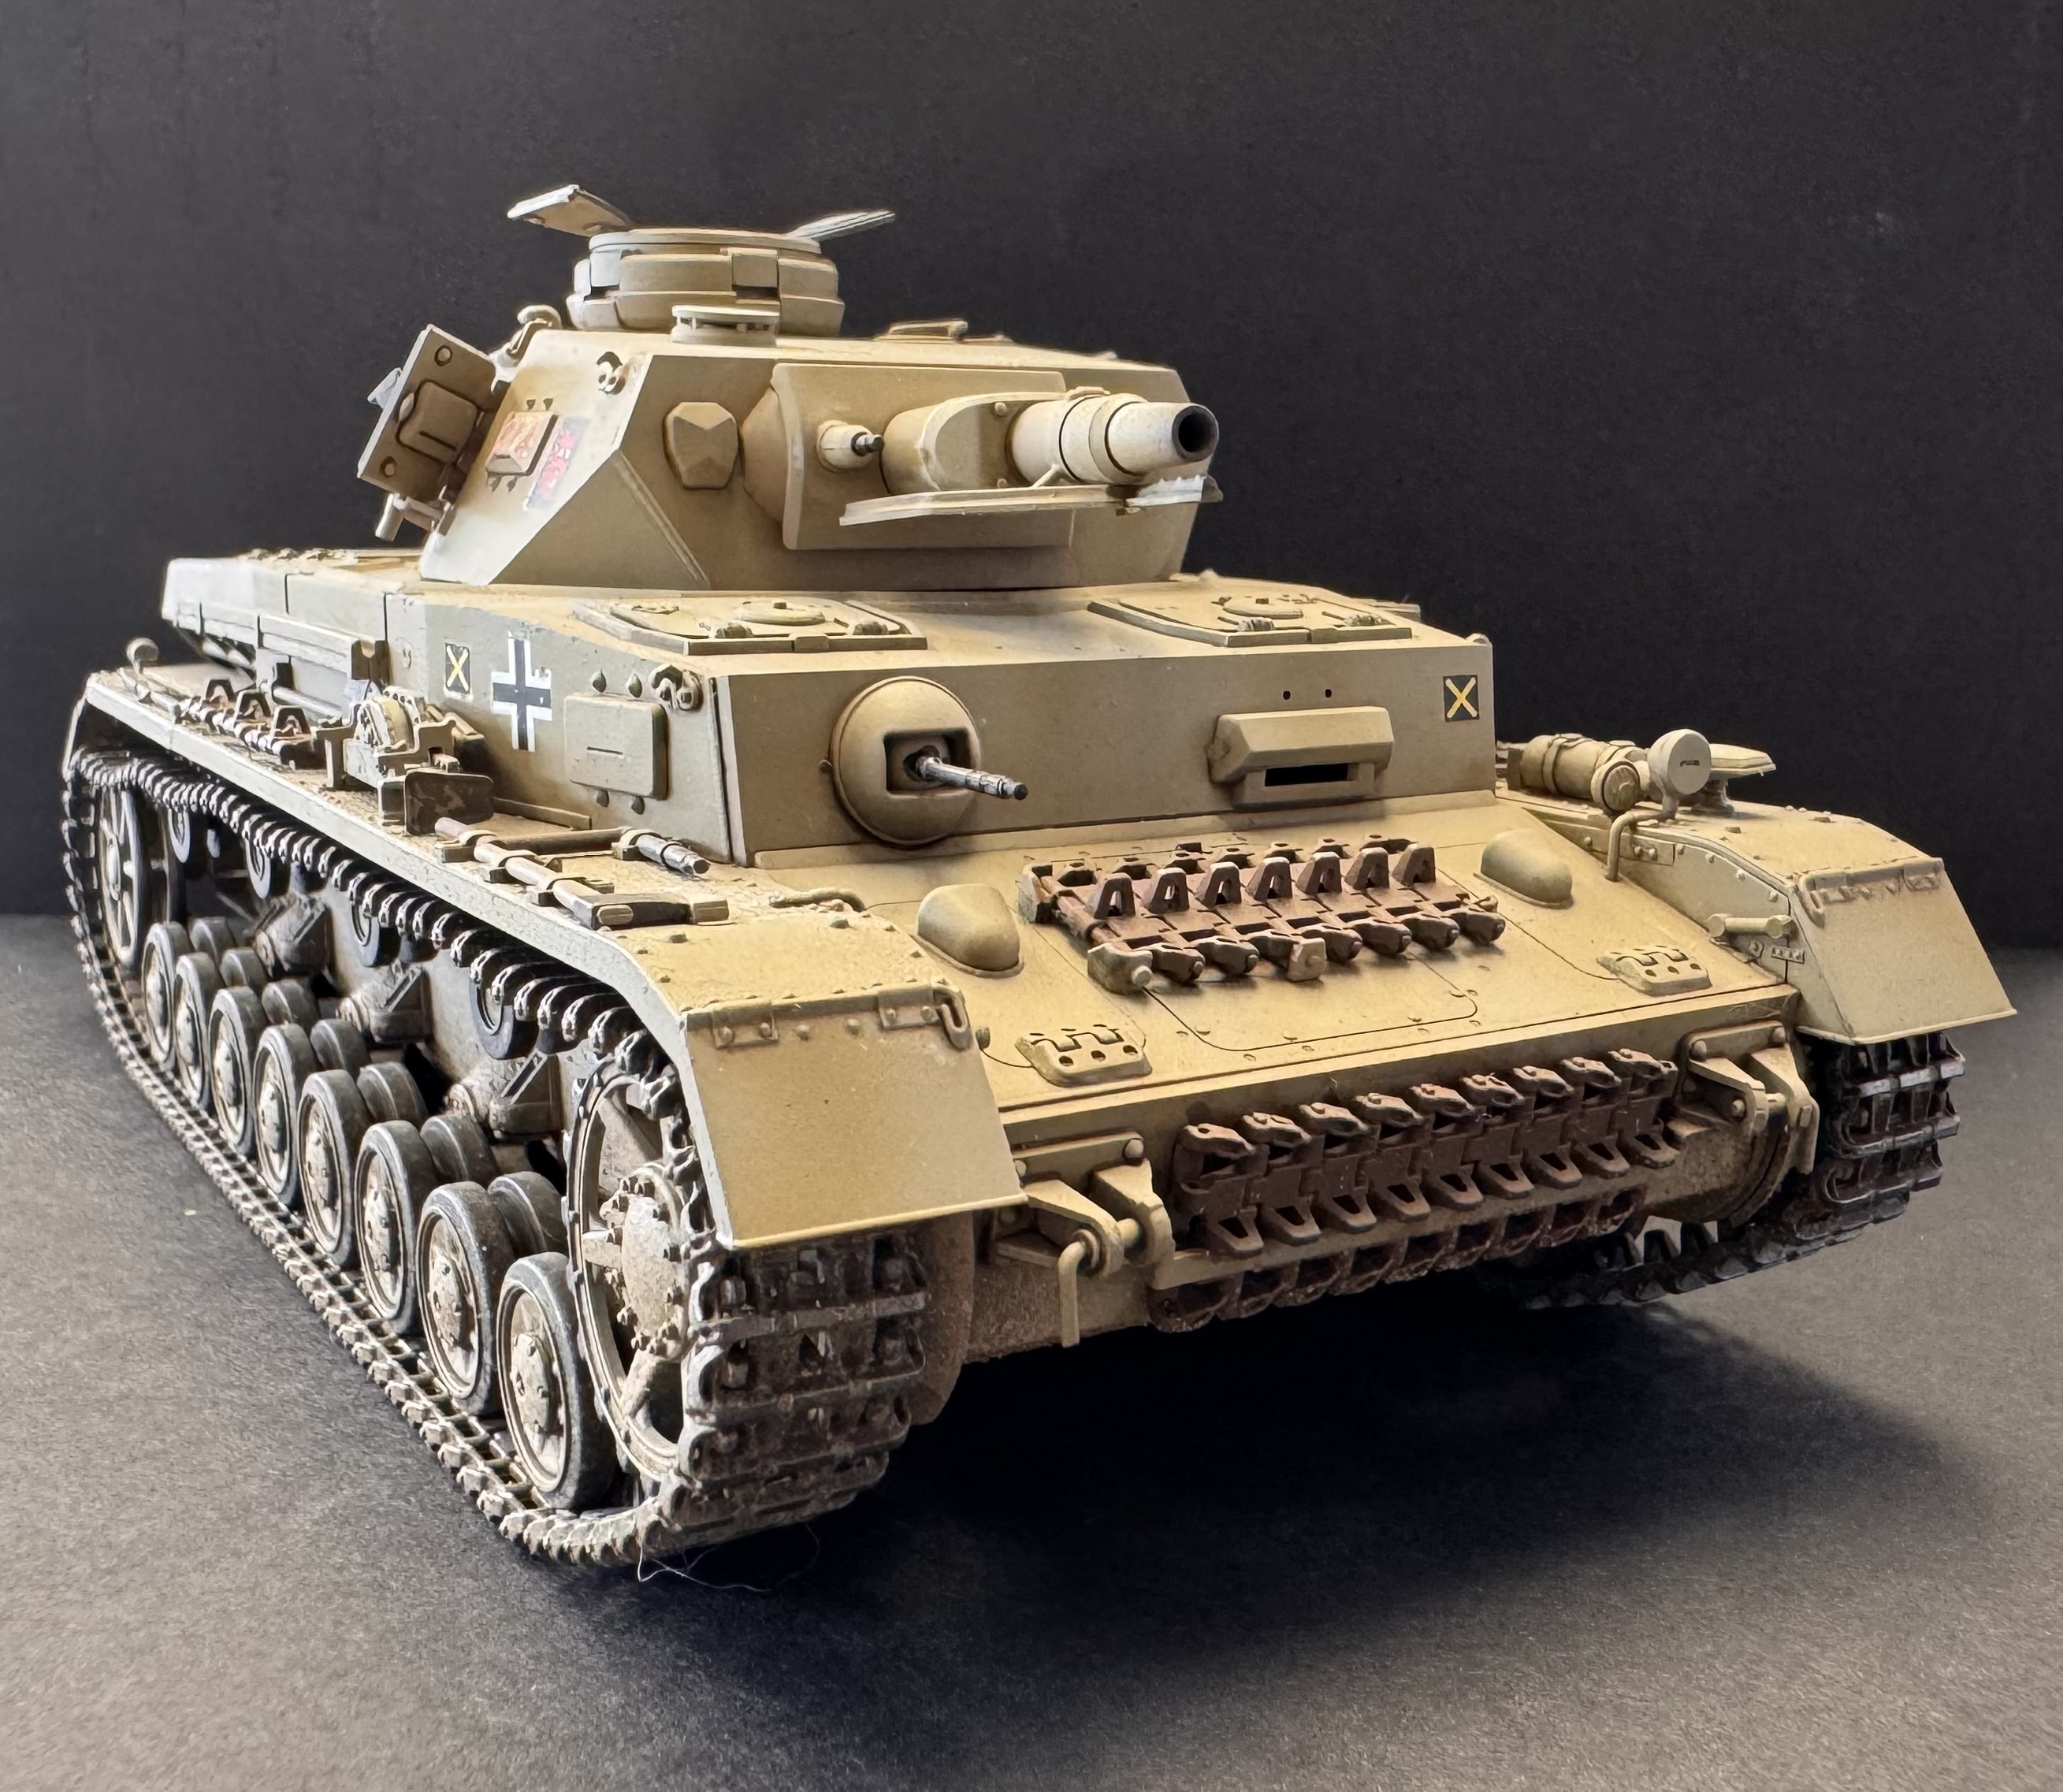
Three-quarter front right
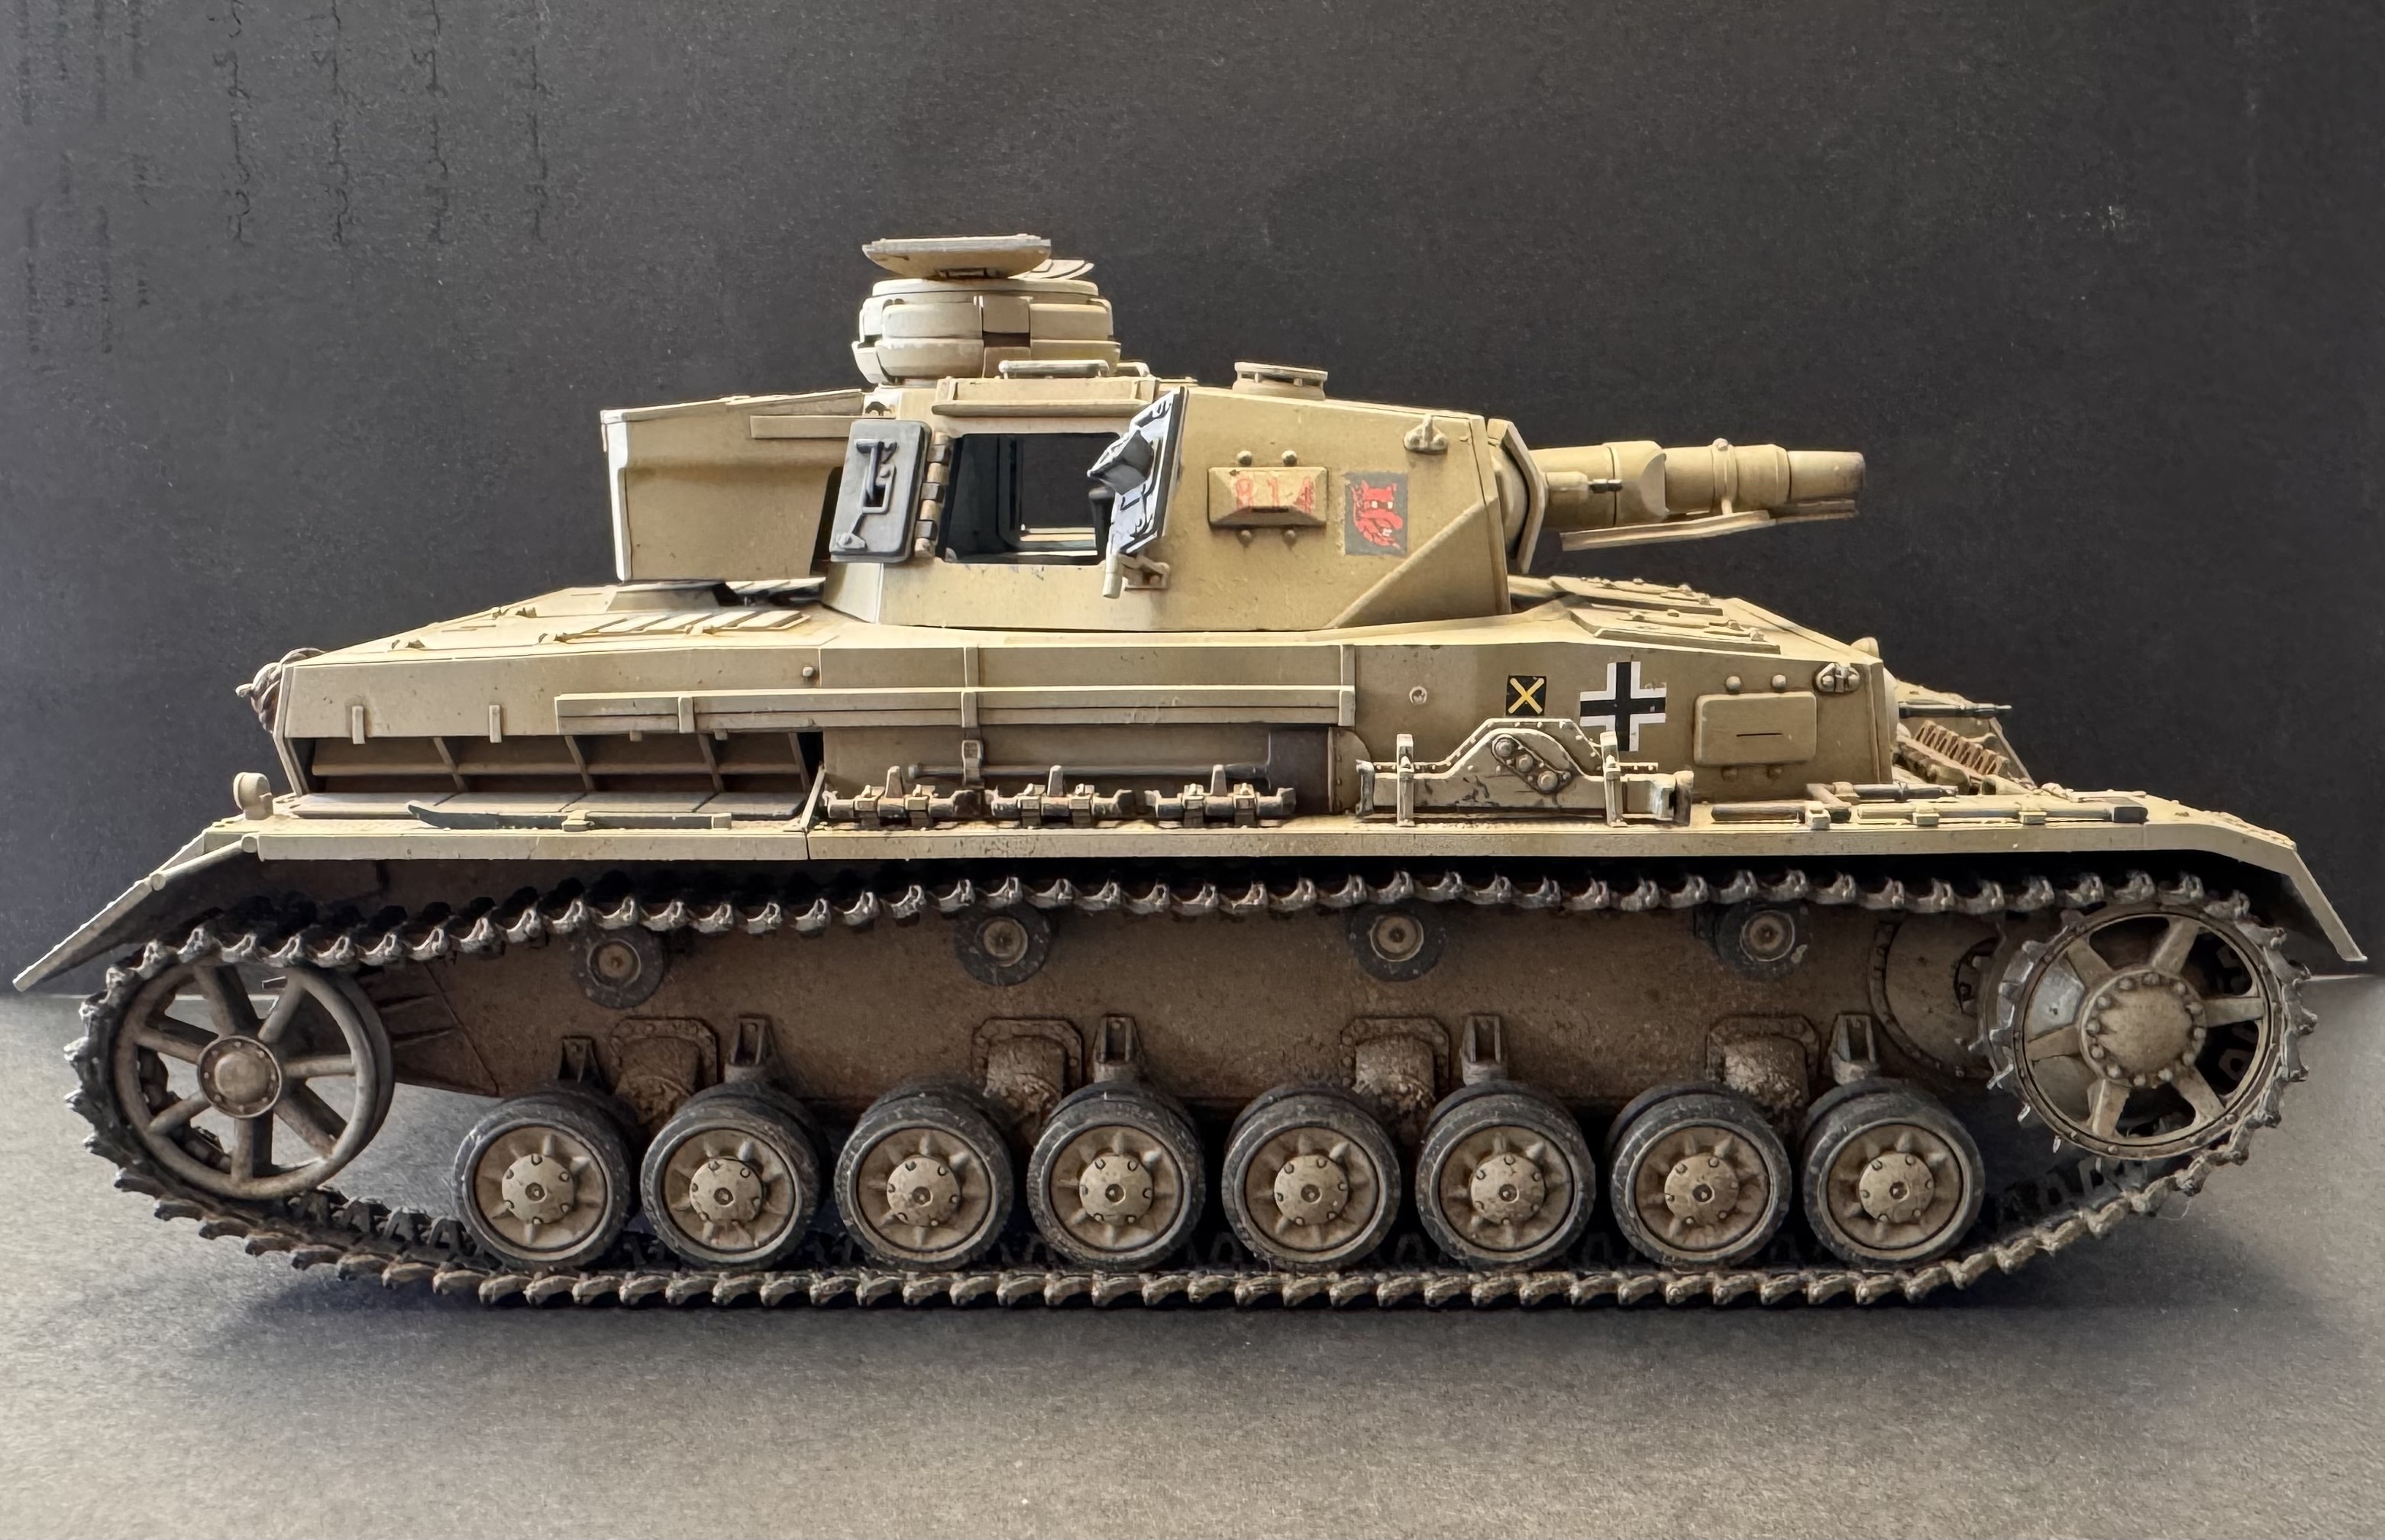
Side profile right
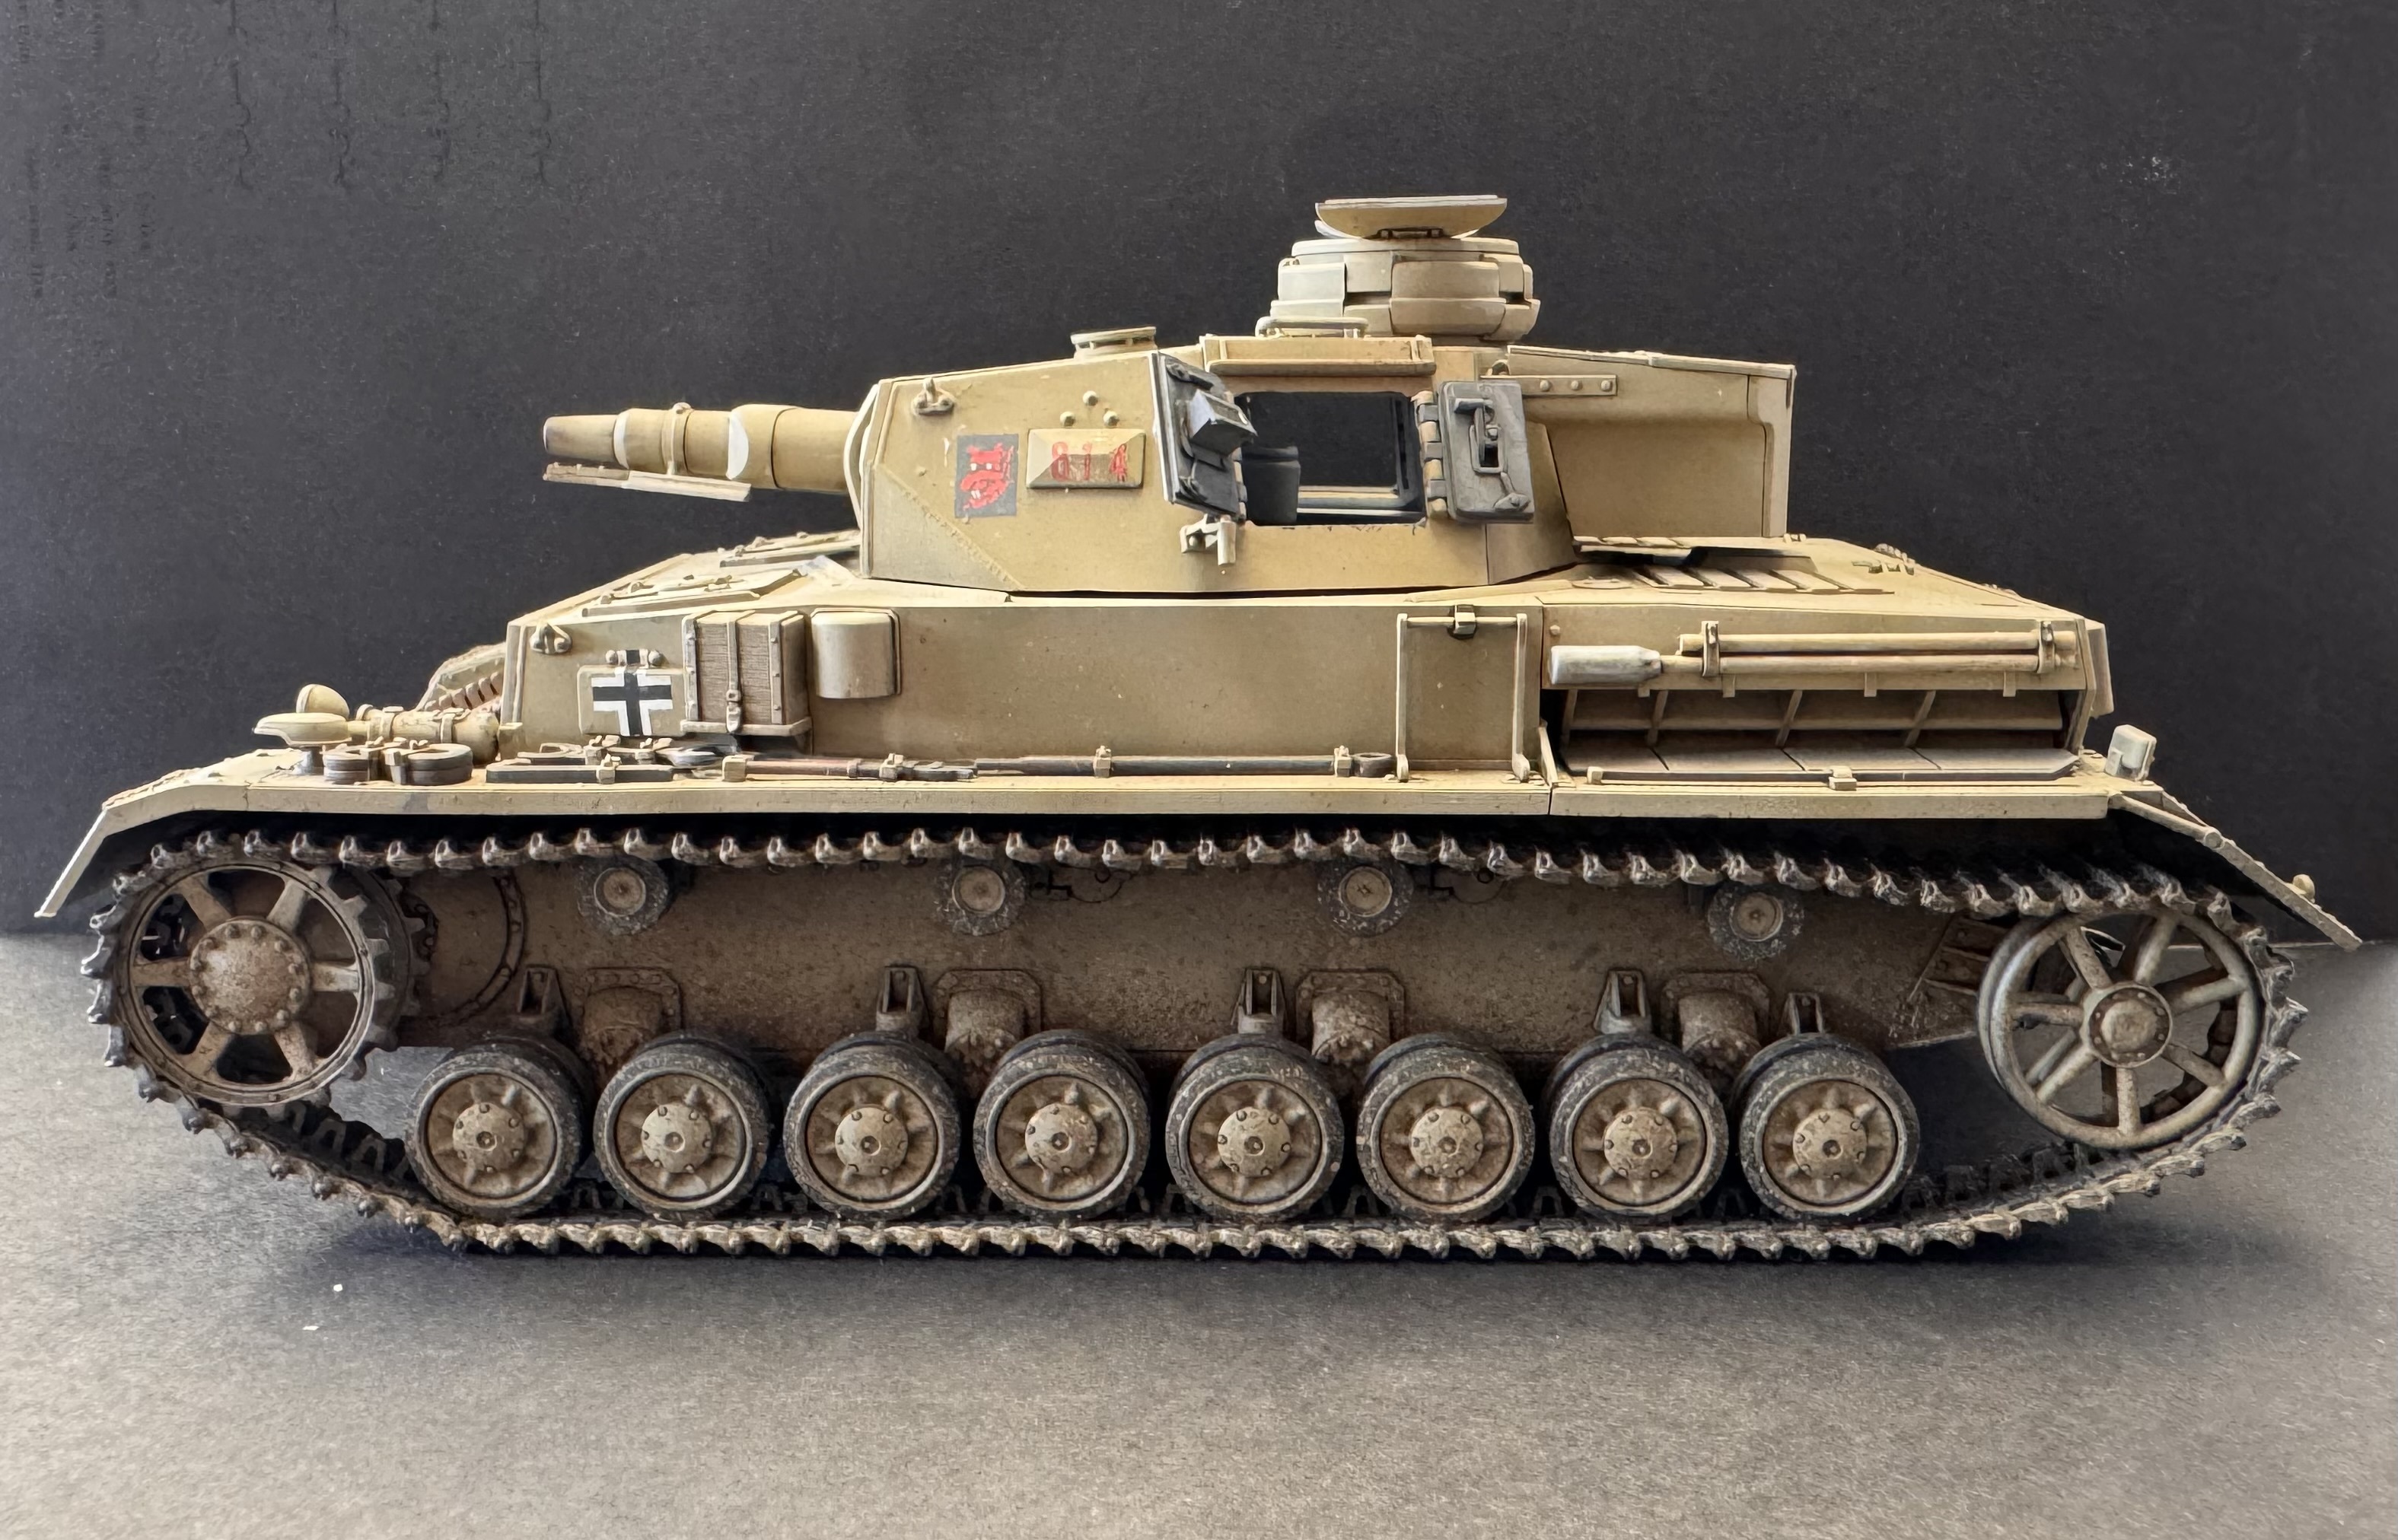
Left side - track weathering and decals
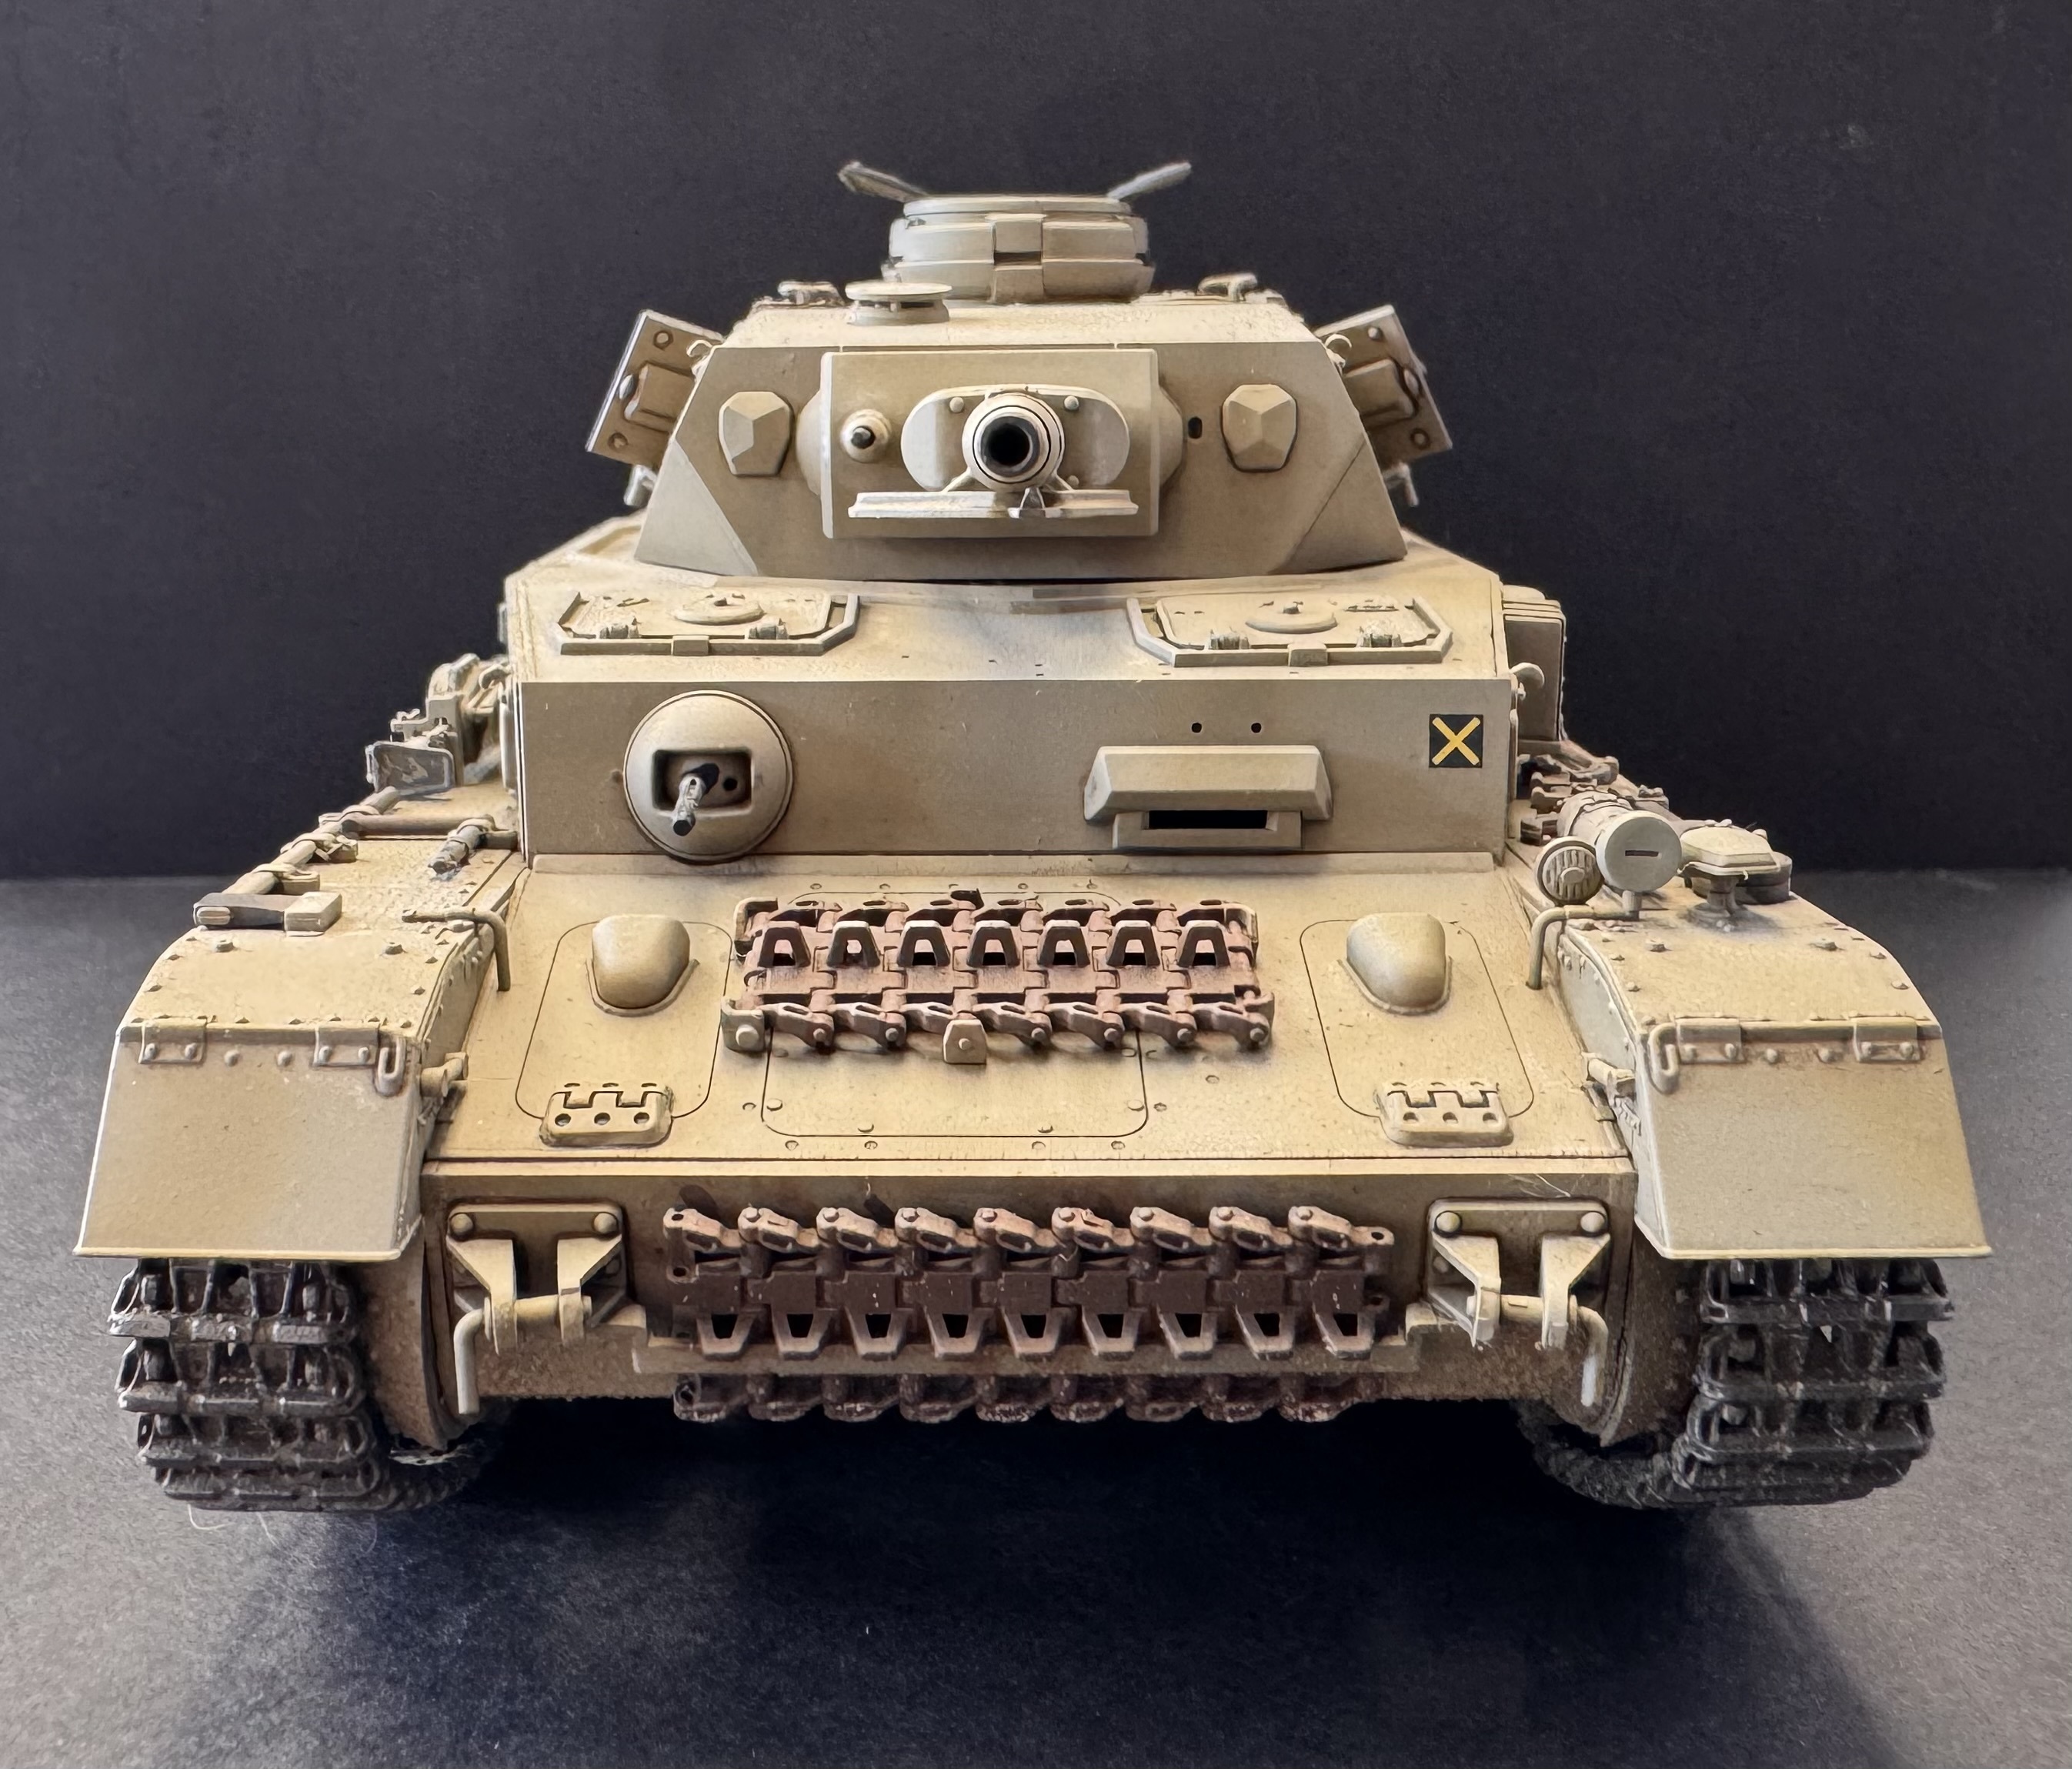
Front - spare tracks and front end weathering
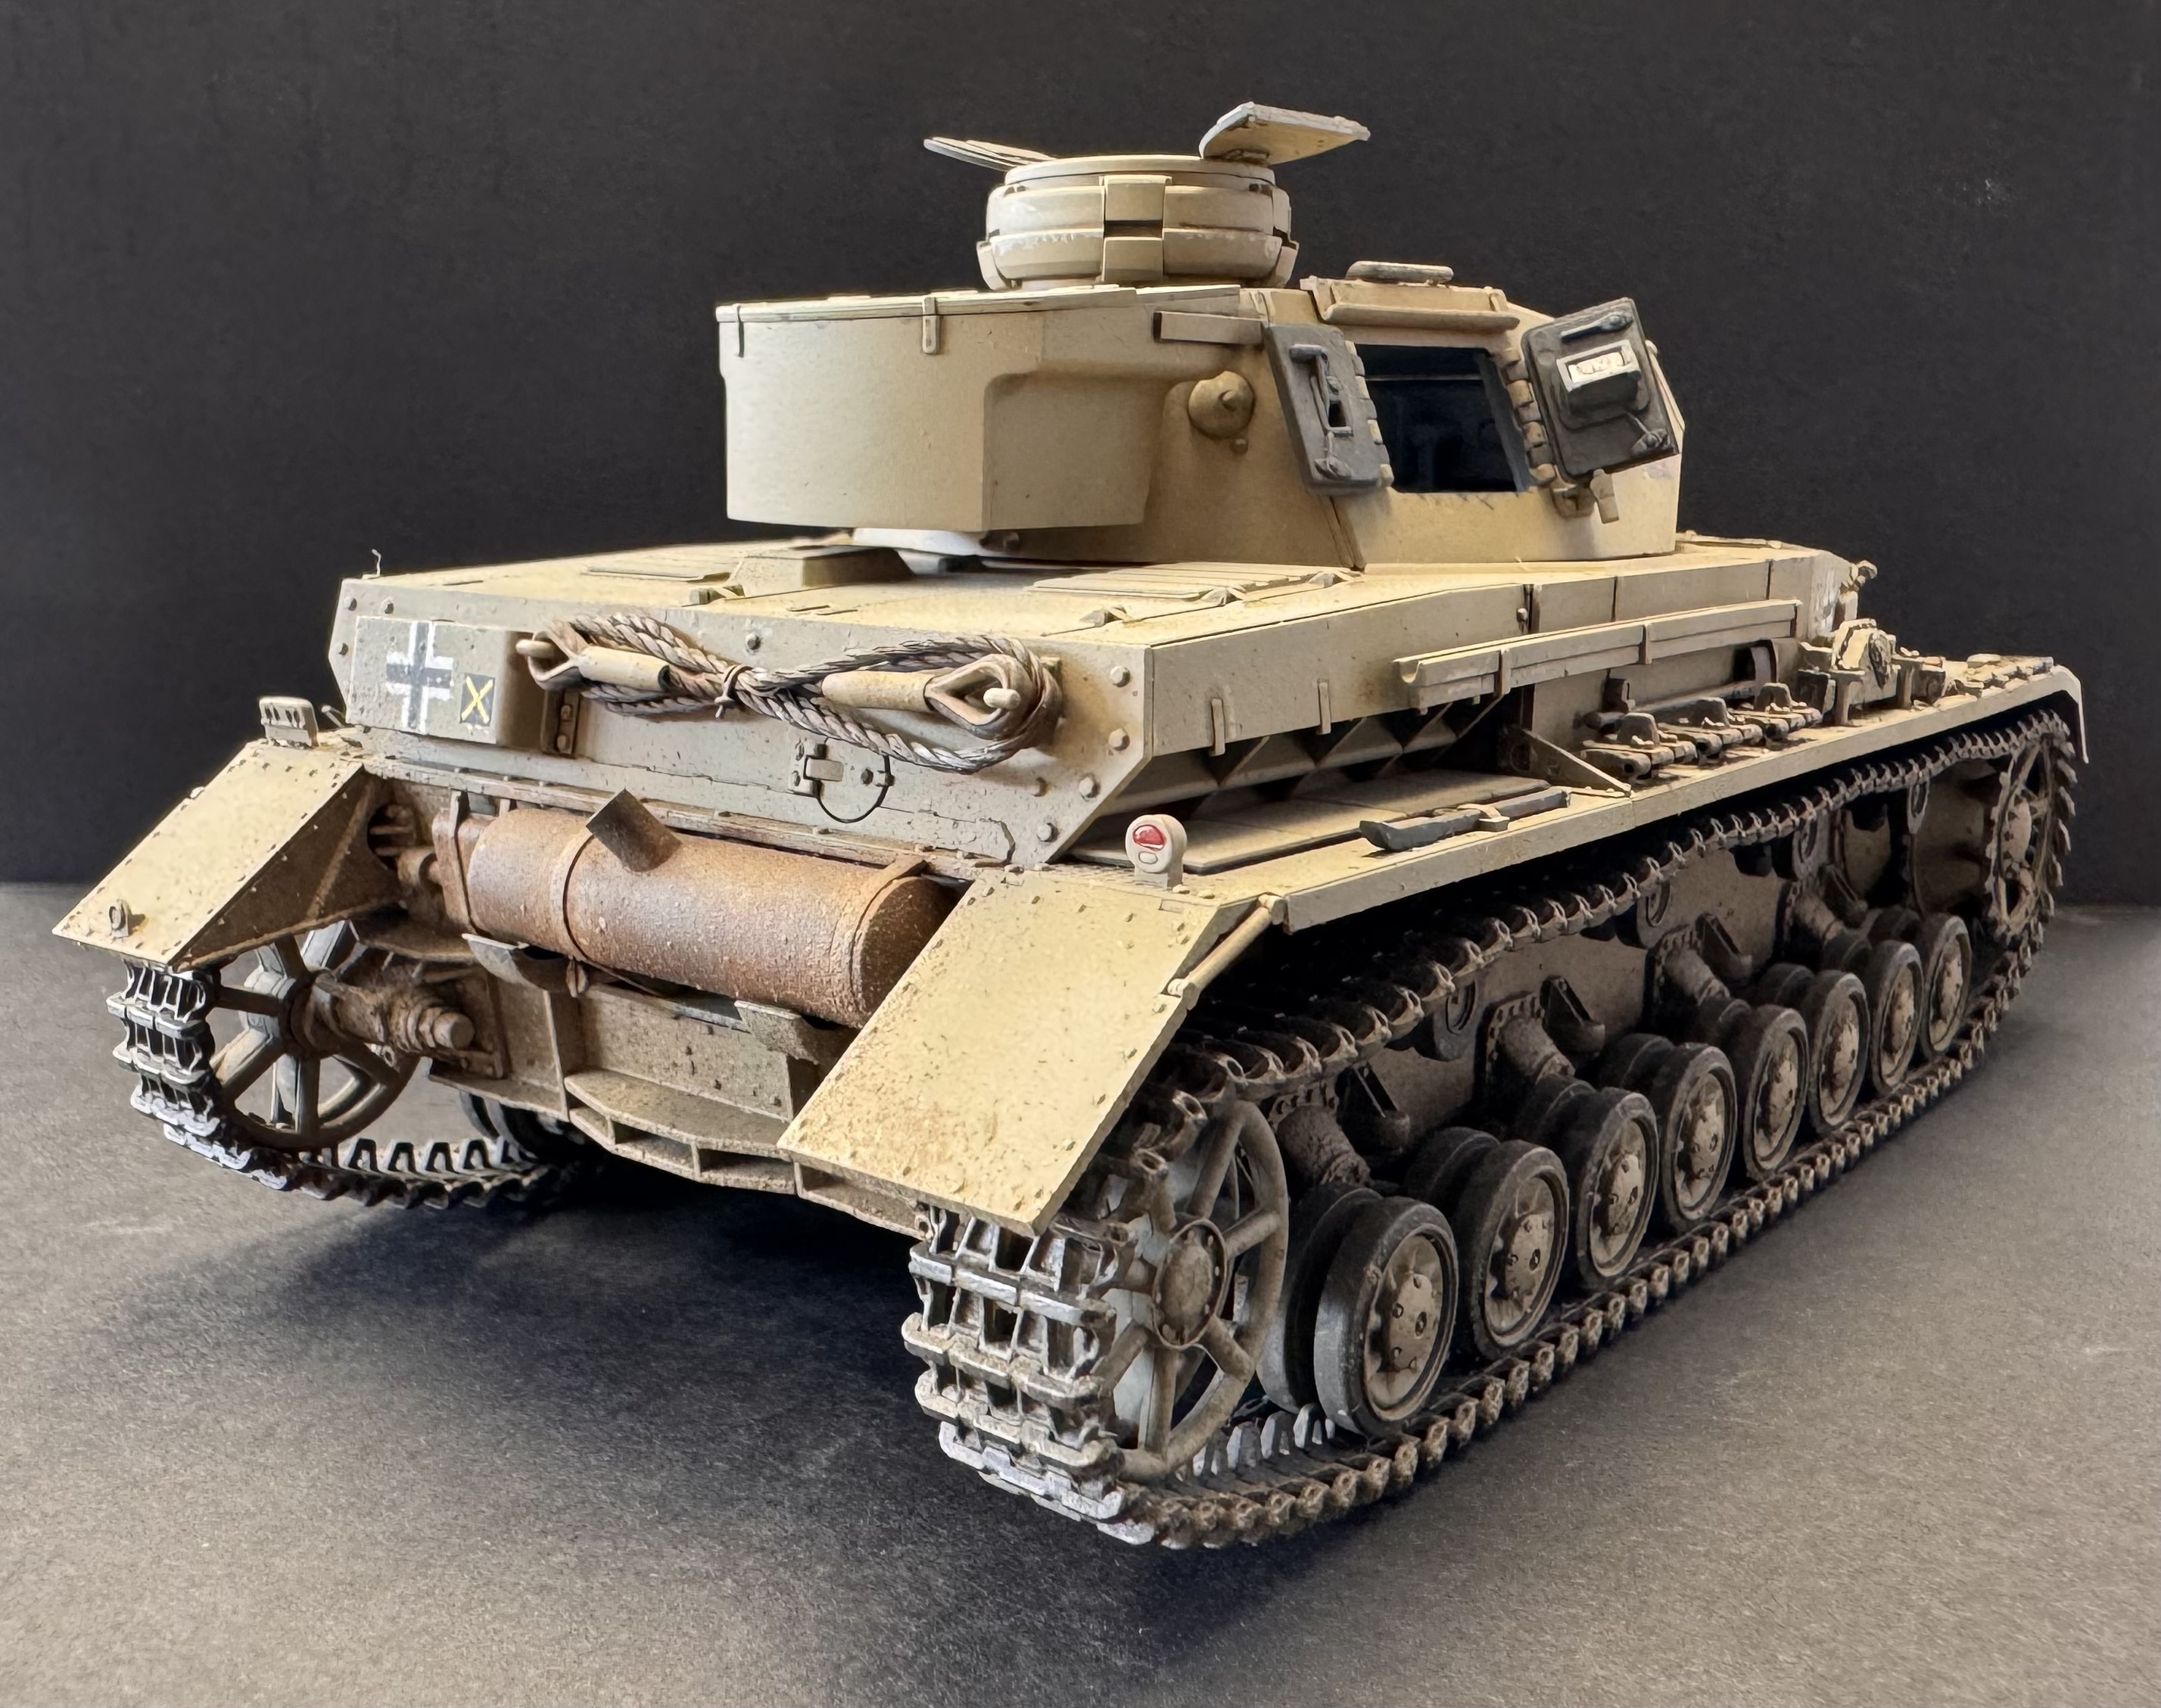
Rear three-quarter right - exhaust and stowage
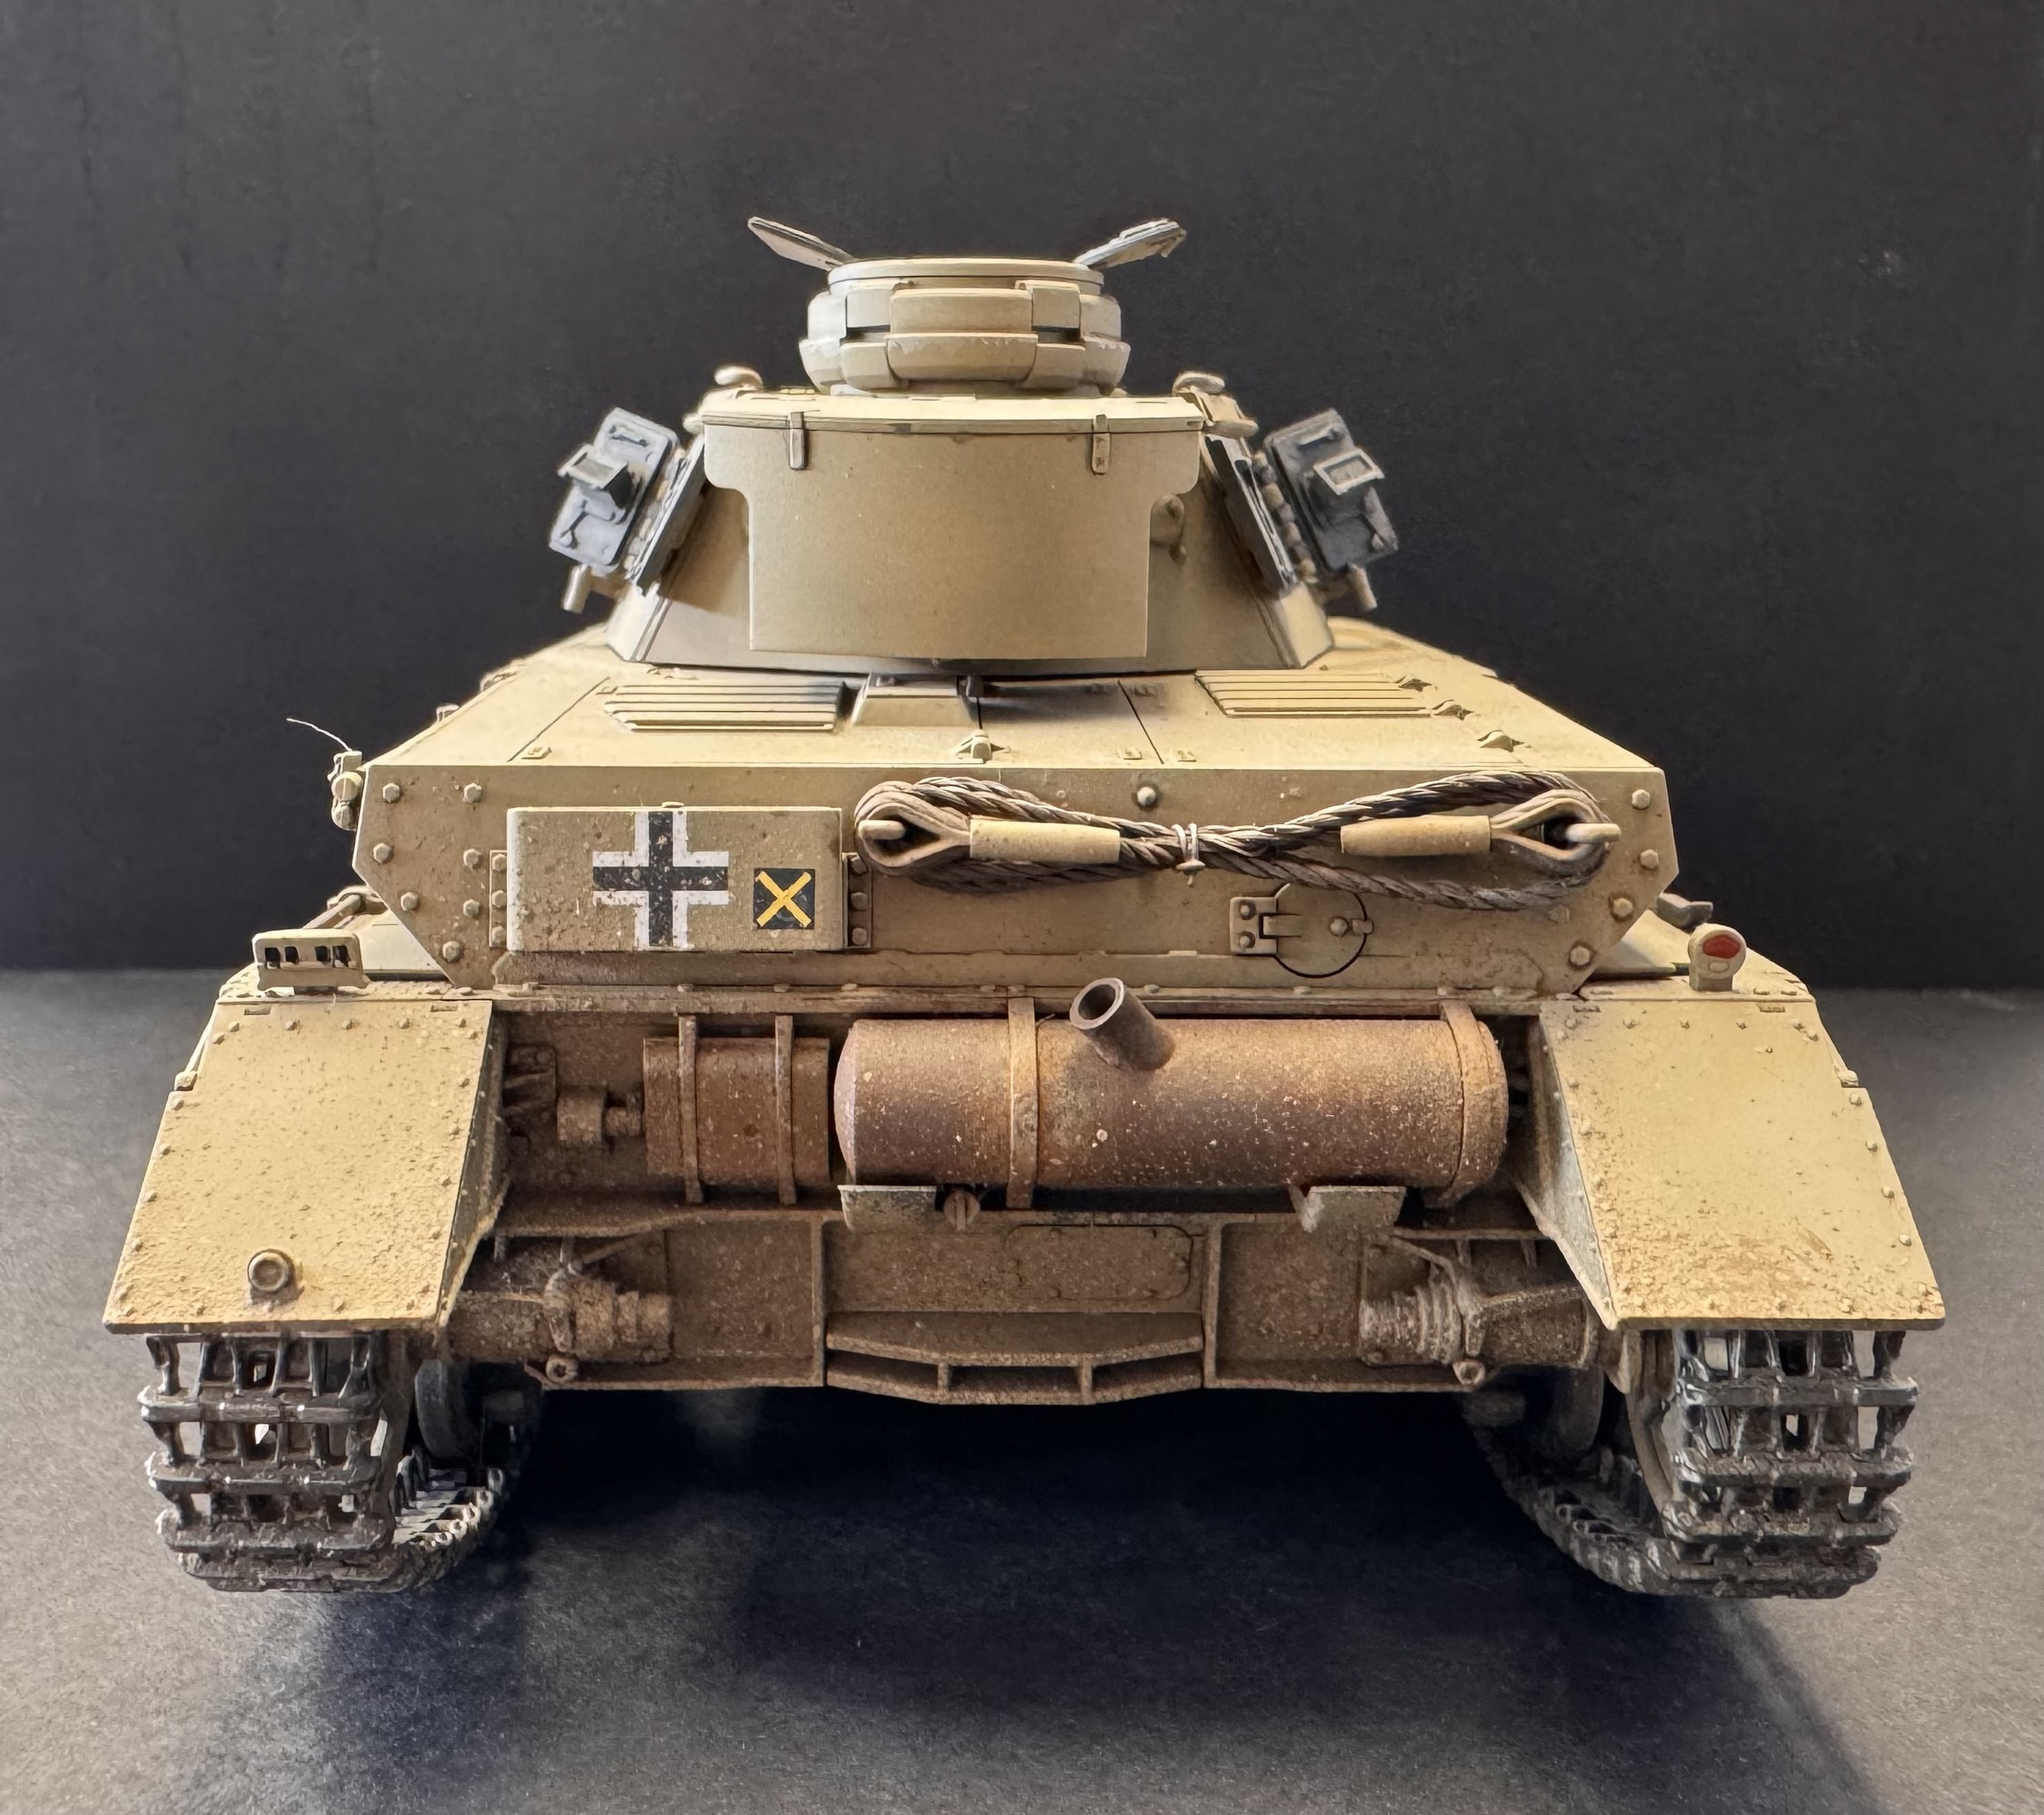
Rear straight on
Build Notes
A few things worth knowing before you open the box.
Paint scheme choice affects the hatches. Decide early which scheme you are building - the overall grey tank uses solid hatches, the North African/camouflage vehicle uses hatches with additional cooling slats. Pick before you glue.
The stowage bin tabs. Parts D7 and D8 for the sides of the stowage bin are easy to damage on removal from the sprue. Take extra care here - a snapped mounting tab means a repair with styrene strip.
The tow cables. Cut the provided string approximately 5mm shorter than the suggested 105mm - they run a little long when wrapped around the mounting hooks. To prevent fraying, lightly melt the cut ends with a lighter. After mounting, apply thin super glue along the full length of the string. The glue absorbs in and leaves a rigid, paintable cable rather than a floppy thread.
Tracks. Build the wheels and tracks as complete sub-assemblies before painting - much easier to paint and weather separately. Use the provided jig for the upper run and check as you go that you have not accidentally glued any track links to the jig itself. Set aside to stiffen before handling.
How Kyle Painted It
Full step-by-step breakdown. All products in stock at Wheels and Wings unless noted.
Dark Neutral Grey - Not Black
All Panzer IVs left the factory in Panzer Grey, with camouflage applied later at depots or in the field. A dark grey or dark brown primer is the correct starting point for this kit - not black. Monument Hobbies Pro Acryl Dark Neutral Grey is the recommended in-stock alternative to the Badger Stynylrez and One Shot primers referenced in the original build video, which are not carried.
DAK Yellow Brown Base, Khaki Disruptive Pattern
XF-92 Yellow Brown (DAK 1942) as the overall base coat, followed by a disruptive pattern of XF-49 Khaki. When applying the khaki camouflage, use the painting diagram as a guide rather than trying to match every line exactly. If you zig when you should have zagged, no one will know.
Spray can note: Tamiya TS-46 and TS-68 aerosol sprays are no longer imported into Canada. The LP-30 Light Sand and LP-16 Wooden Deck Tan lacquers are the current alternatives for those working from spray cans. LP-68 Wooden Deck Tan with filters applied will get you closer to the DAK Yellow Brown than LP-30 alone.
LP-30 Light Sand / LP-16 Wooden Deck Tan - LP-16 with filters applied is the closer match to DAK Yellow Brown
Hatch Interiors Left in Panzer Grey
A note on creative licence: the inside and outside of the hatches would normally be painted the same colour. The thinking here is that when the vehicle was repainted in the field with the hatches closed, the interiors would have been left in the original factory Panzer Grey. Whether fully authentic or not, the grey interior draws the eye to the open hatches and creates a more interesting result. The grey primer serves as the interior colour with no additional painting required.
Aqua Gloss, Then Decals
A few light coats of Aqua Gloss over the completed paintwork before applying decals. Tamiya's decals are still relatively thick but have improved over earlier generations and conform to surfaces much better than they used to. Walther's Solvaset is the preferred setting solution - we are currently working to bring it back into stock following the closure of a major distributor. In the meantime, Tamiya Mark Fit Super Strong is the closest available alternative.
Dark Brown Panel Wash, Rust Streaks and Light Rust
AK Dark Brown Enamel Wash worked into every nut, bolt, hinge, hatch and recess across the whole model. AK Rust Streaks and AK Light Rust Enamel Wash applied to the exhaust, cables, and tools. Allow all enamel products to fully dry before the next step.
Matt Varnish Before Weathering
A final flat coat applied over the washes to seal everything and provide the correct dull surface for the earth and dust weathering effects to follow. Vallejo Matt Clear is the recommended alternative to the One Shot Transparent Primer used in the original build video.
Dry Mud, Accumulated Dust and Splatter
AK Dry Mud thinned slightly with water, speckled onto the lower hull using an old brush and a toothpick. Concentrate the effect along the bottom and rear of the tank, under the fenders, under the return rollers, and on top of the bogies. Follow with AK Accumulated Dust, then a final pass with a mix of both products. Make sure to spatter these effects onto the wheels too so the result is consistent with the hull.
Mud, Pigment and Finger Painting
Brush dry mud into the recesses on the outer face of the track and along the interfaces where links are not in contact with the wheels. Follow with the same splatter technique used on the lower hull. Once the earth effects are dry, Abteilung Gun Metal Pigment is applied to the track cleats, the high spots on the outer face, and the exposed teeth of the drive sprocket and idler wheel where they contact the tracks. The best applicator for this is a finger - simply dip and rub.
The Finished Build
Tamiya 1/35 Panzer IV Ausf.F. Still amazing six years later.
Three-quarter front left
Three-quarter front right
Rear three-quarter right - exhaust and stowage
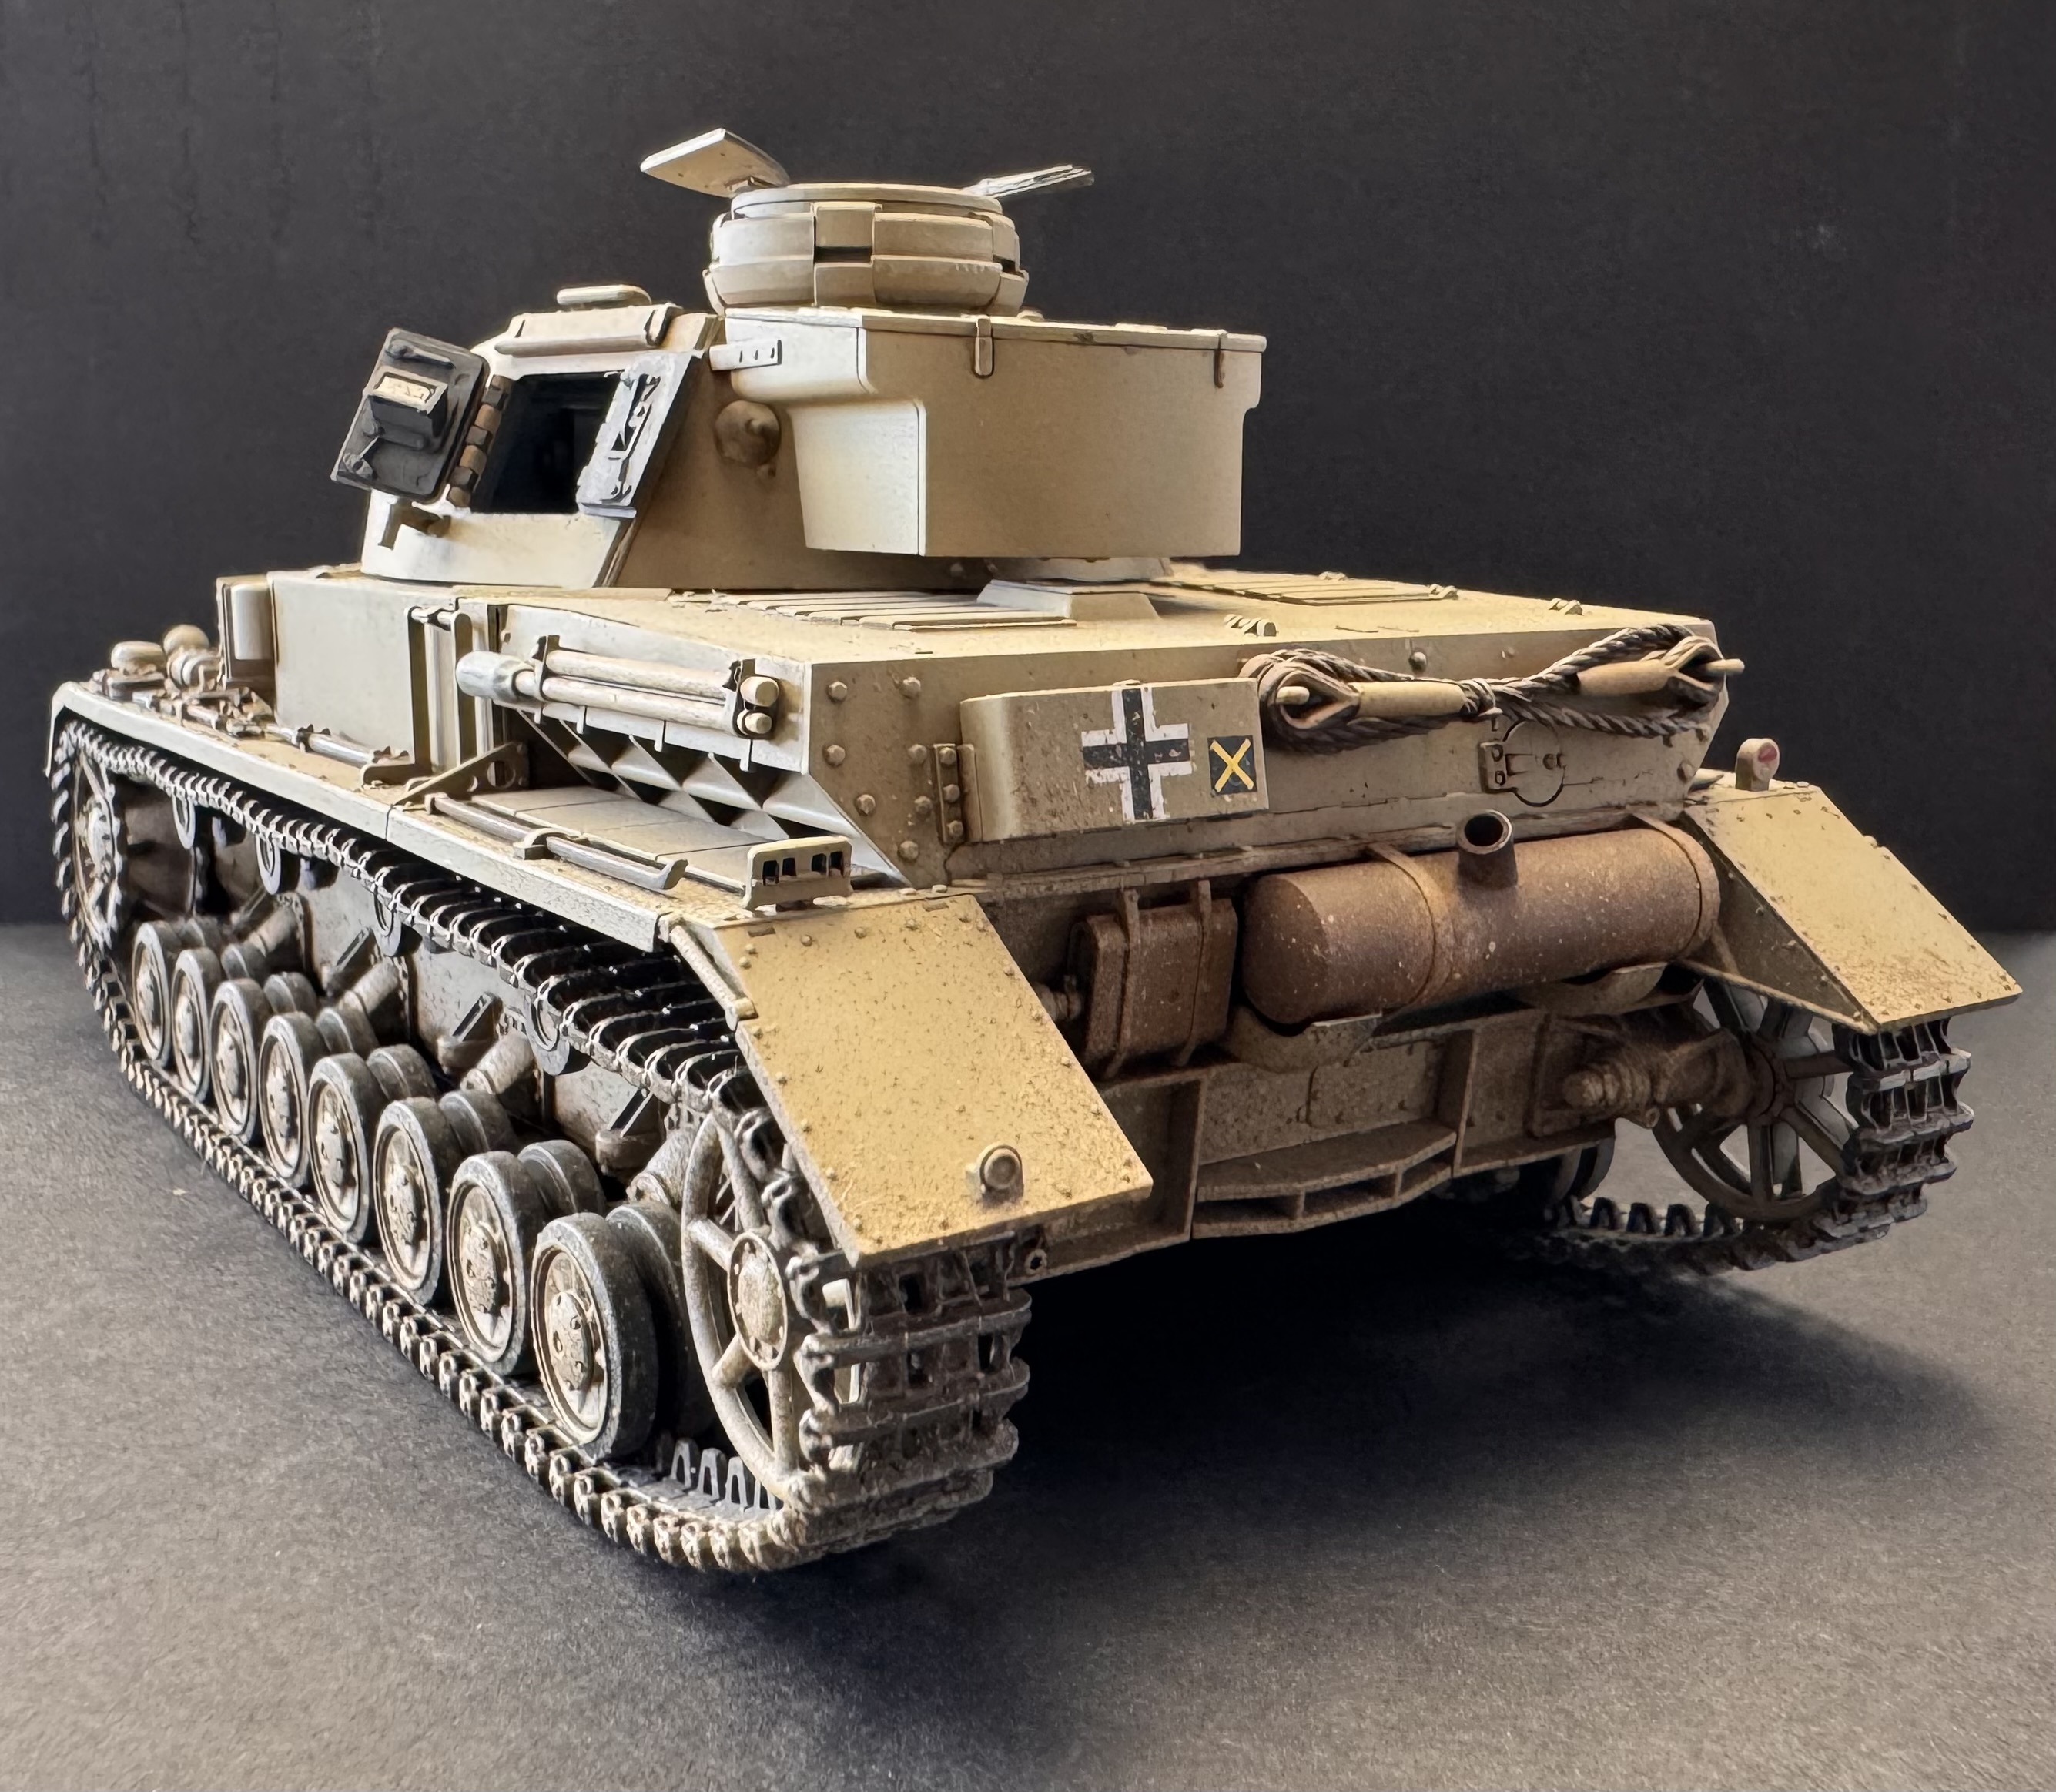
Rear three-quarter left
Front - spare tracks and weathering
Rear straight on
All paints and weathering products used in this build are in stock at Wheels and Wings Hobbies in Toronto, available online with Canada-wide shipping.
Shop Paints →Recent Posts
-
What Glue Should I Use? A Scale Modelling Adhesive Guide
Wheels & Wings Hobbies · Counter Notes What Glue Should I Use? Lessons from the paint counter at W …Oct 16, 2026 -

John's Starcraft Zerg Queen Paint Guide - Build Feature
Wheels and Wings Hobbies - Miniature Paint Guide John's Starcraft Zerg Queen Archon Studio - Starcra …Sep 24, 2026 -
Vlad's Tomb King on Necrolith Bone Dragon Paint Guide - Build Feature
Wheels and Wings Hobbies - Miniature Paint Guide Vlad's Tomb King on Necrolith Bone Dragon Warhammer …Sep 10, 2026